- Product
- Integrate DropboxManage any Dropbox files in WordPress Dashboard

- Google DriveUse any Google Drive files in WordPress Dashboard
- AccessiyAccessiy Is The #1 WordPress Accessibility Plugin.

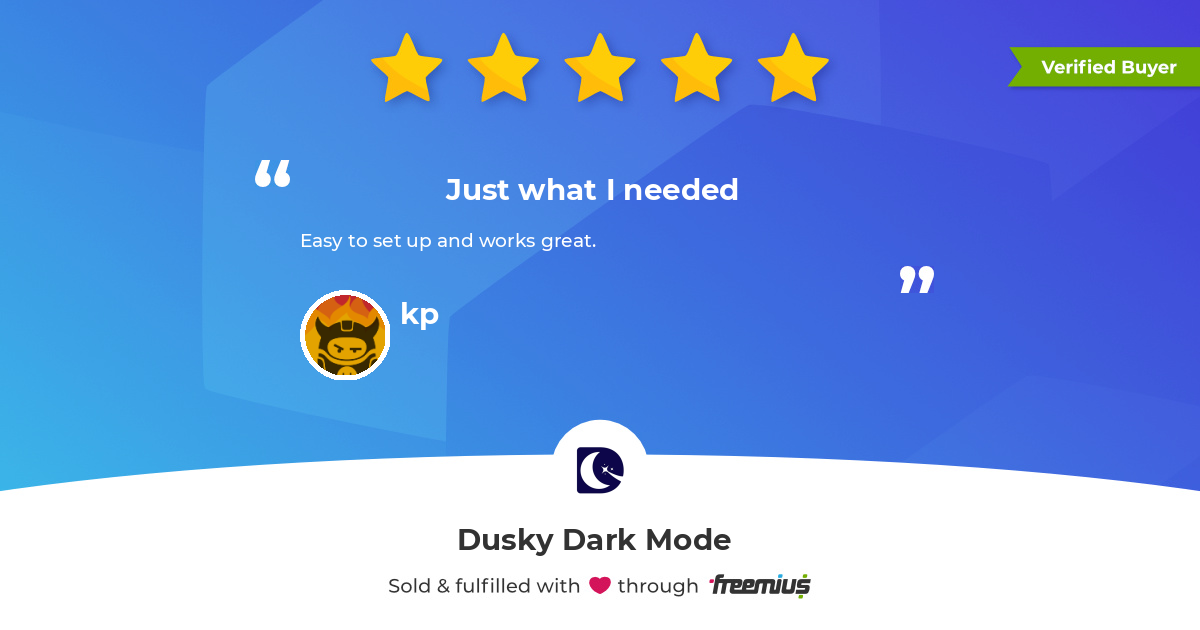
- Dusky Dark ModeBest Dark Mode Solution for WordPress Website

- Woo EssentialAll In One Solutions For WooCommerce Store

- Announcement BarsBoost engagement and sales with targeted announcement bars!

- Docs


 1")
 8")
 13")