How to Create a File Uploader Using Google Drive Integration?
The File Uploader Module allows users to upload files directly to a specific Google Drive folder assigned by you. Follow this step-by-step guide to set up and manage the module easily.
Step 1: Add the File Uploader Module
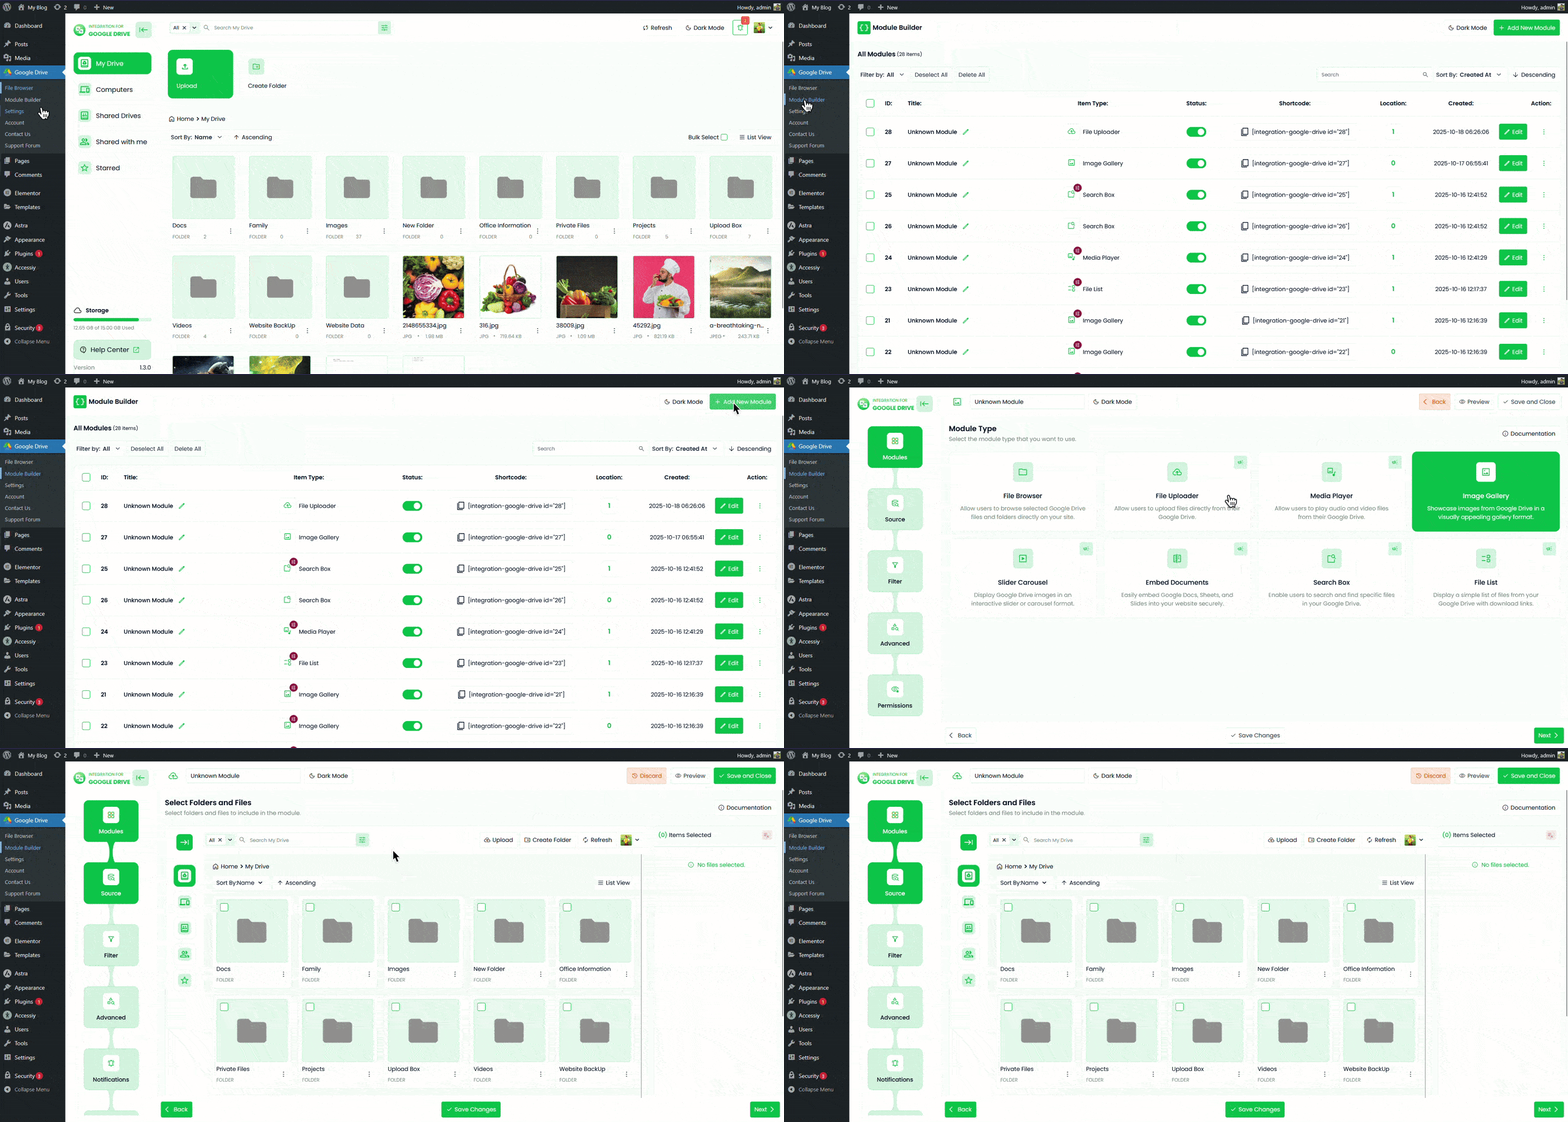
- Go to Module Builder from your WordPress dashboard.
- Click Add New Shortcode.
- Select File Uploader from the Types tab.
- Optionally, rename the module by clicking the pencil icon.
Step 2: Configure the Sources Tab
In the Sources tab, select the Google Drive folders where users are allowed to upload files.
- Click the File button or use the Select Box to choose your folder.
- You can also drag and select folders using your mouse.
Once the folders are selected, click the Next button to continue.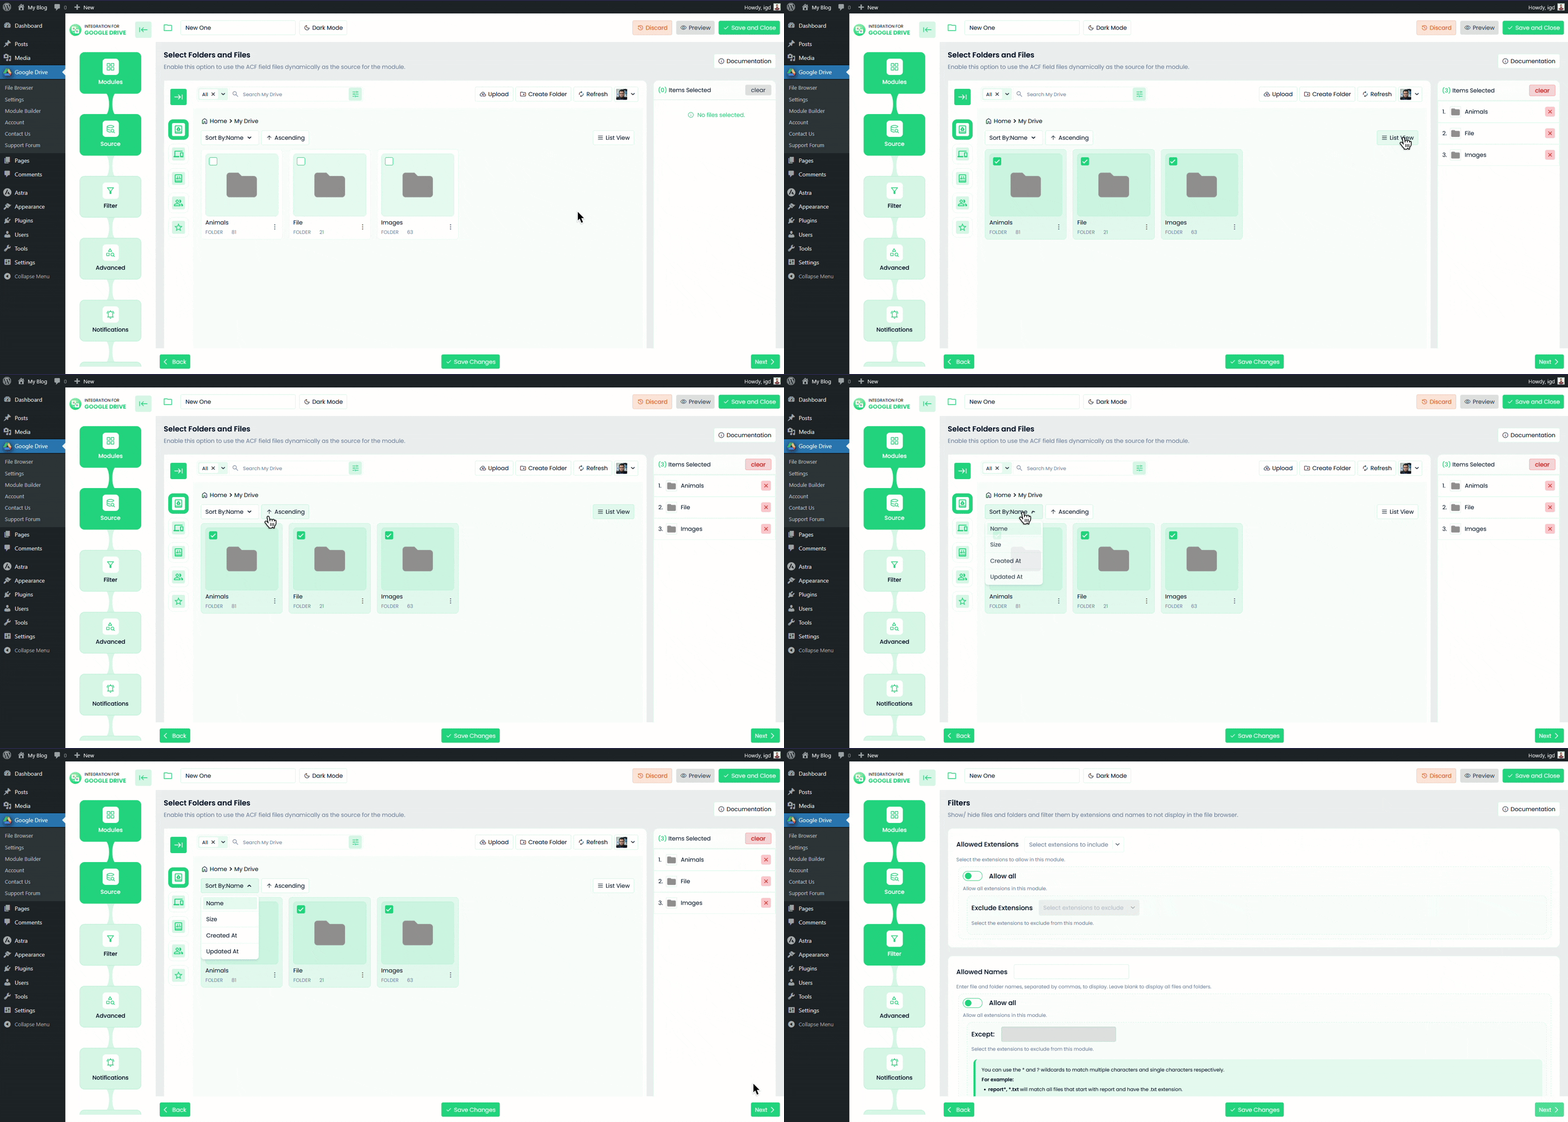
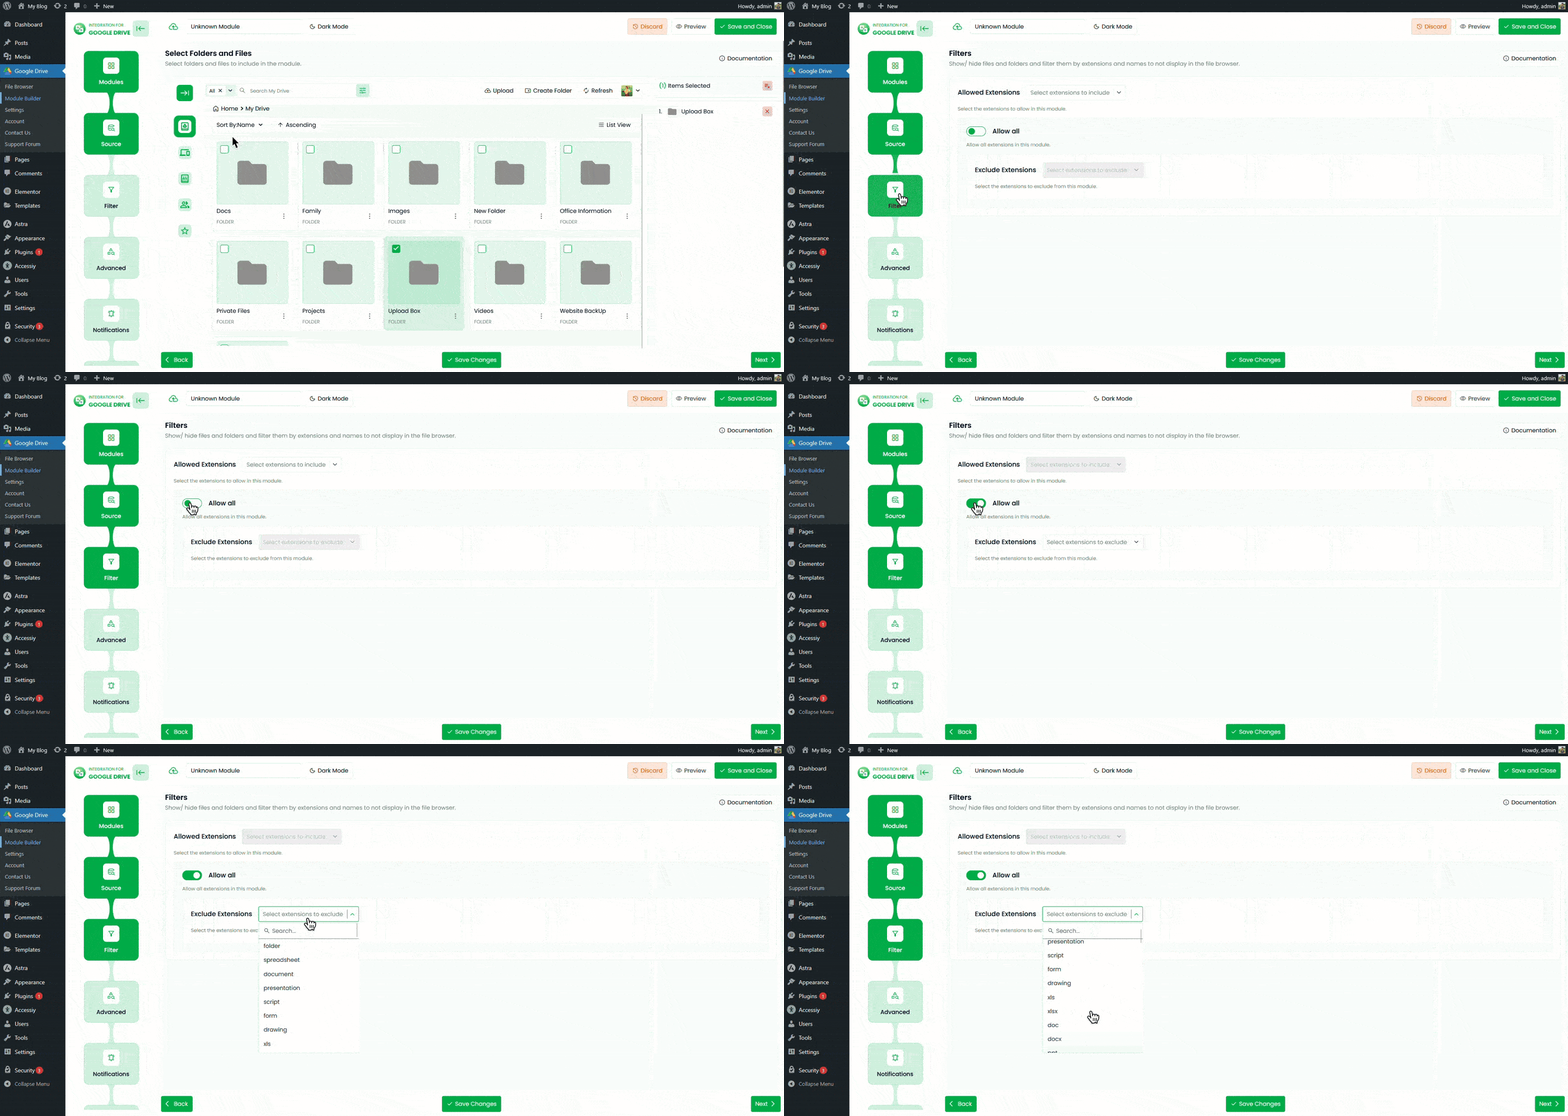
Step 3: Configure the Filter Tab
The Filter tab helps you control which file types users can upload.
- Allowed Extensions: Choose which file types you want to allow (e.g.,
jpg, png, pdf). Leave empty to allow all types. - Max File Uploads: Set the maximum number of files users can upload at once.
- Max File Size (MB): Define the maximum file size allowed per upload.
- Min File Size (MB): Define the minimum file size allowed.
Step 4: Configure the Advanced Tab
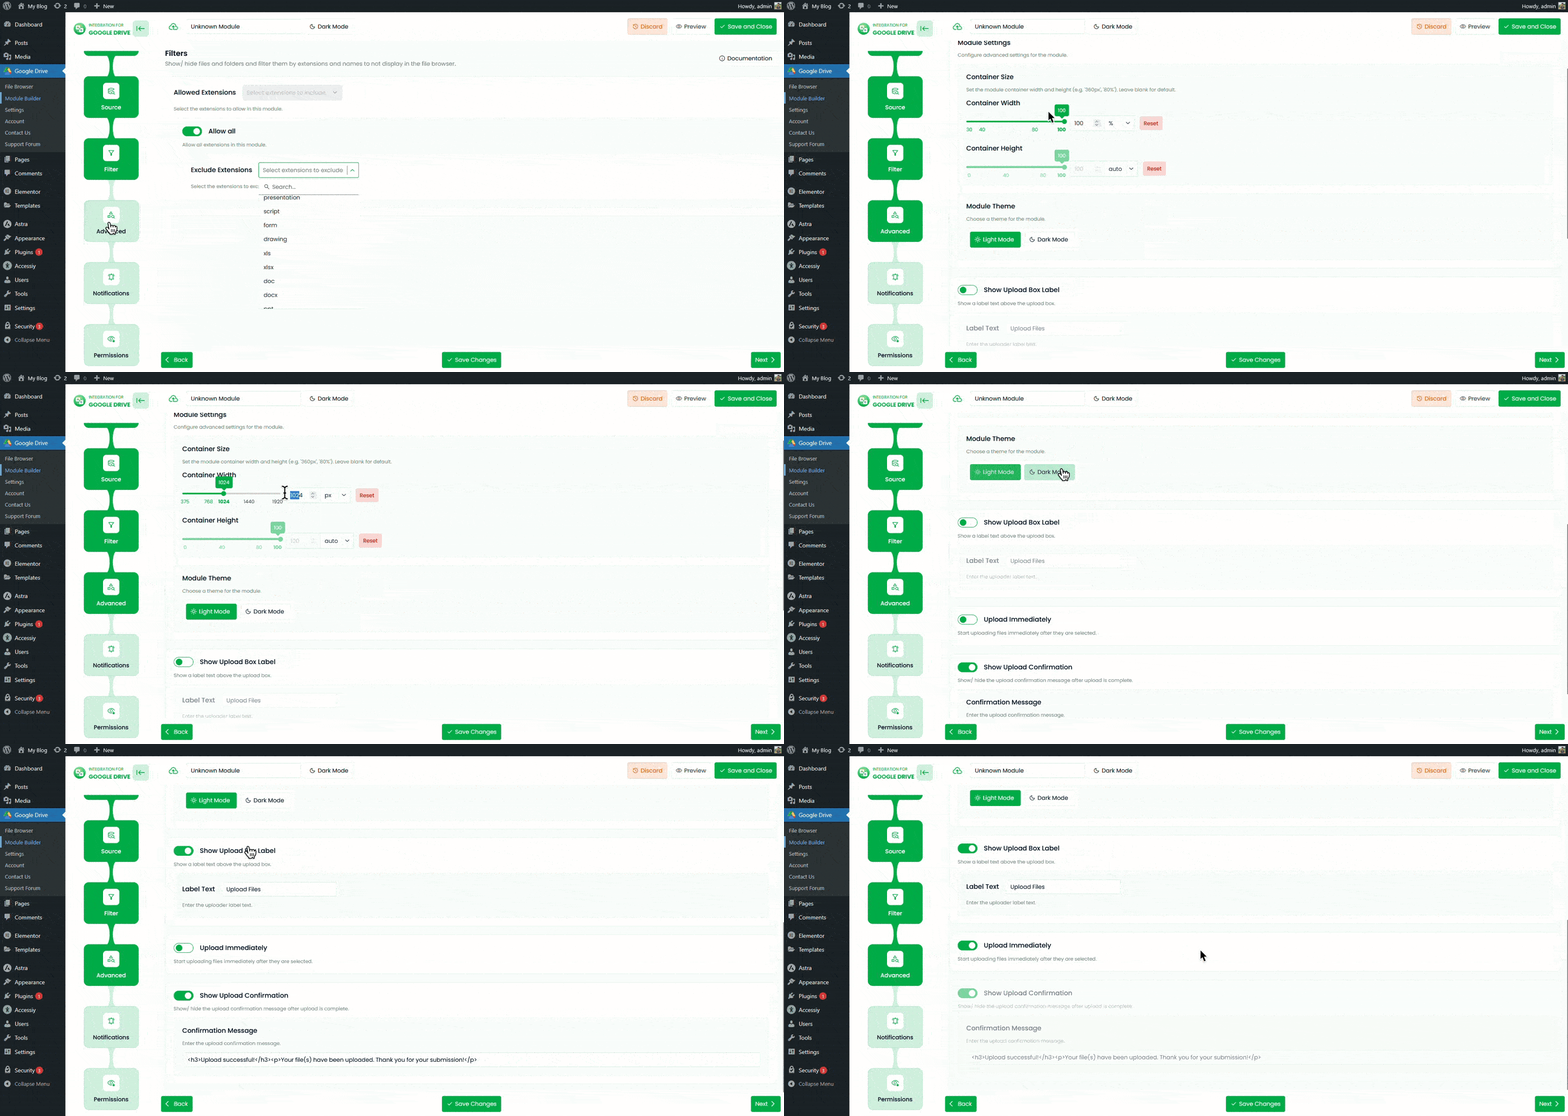
In the Advanced tab, you can customize how the module looks and behaves.
- Container Size: Set the module width and height using the range. Leave blank for default sizing.
- Module Theme: Choose the module theme, such as dark mode or light mode.
- Show Upload Box Label: Display a label text below the upload button.
- Upload Immediately: Start uploading files as soon as they are selected.
- Show Upload Confirmation: Show or hide a confirmation message after the upload is complete.
Step 5: Configure the Notifications Tab
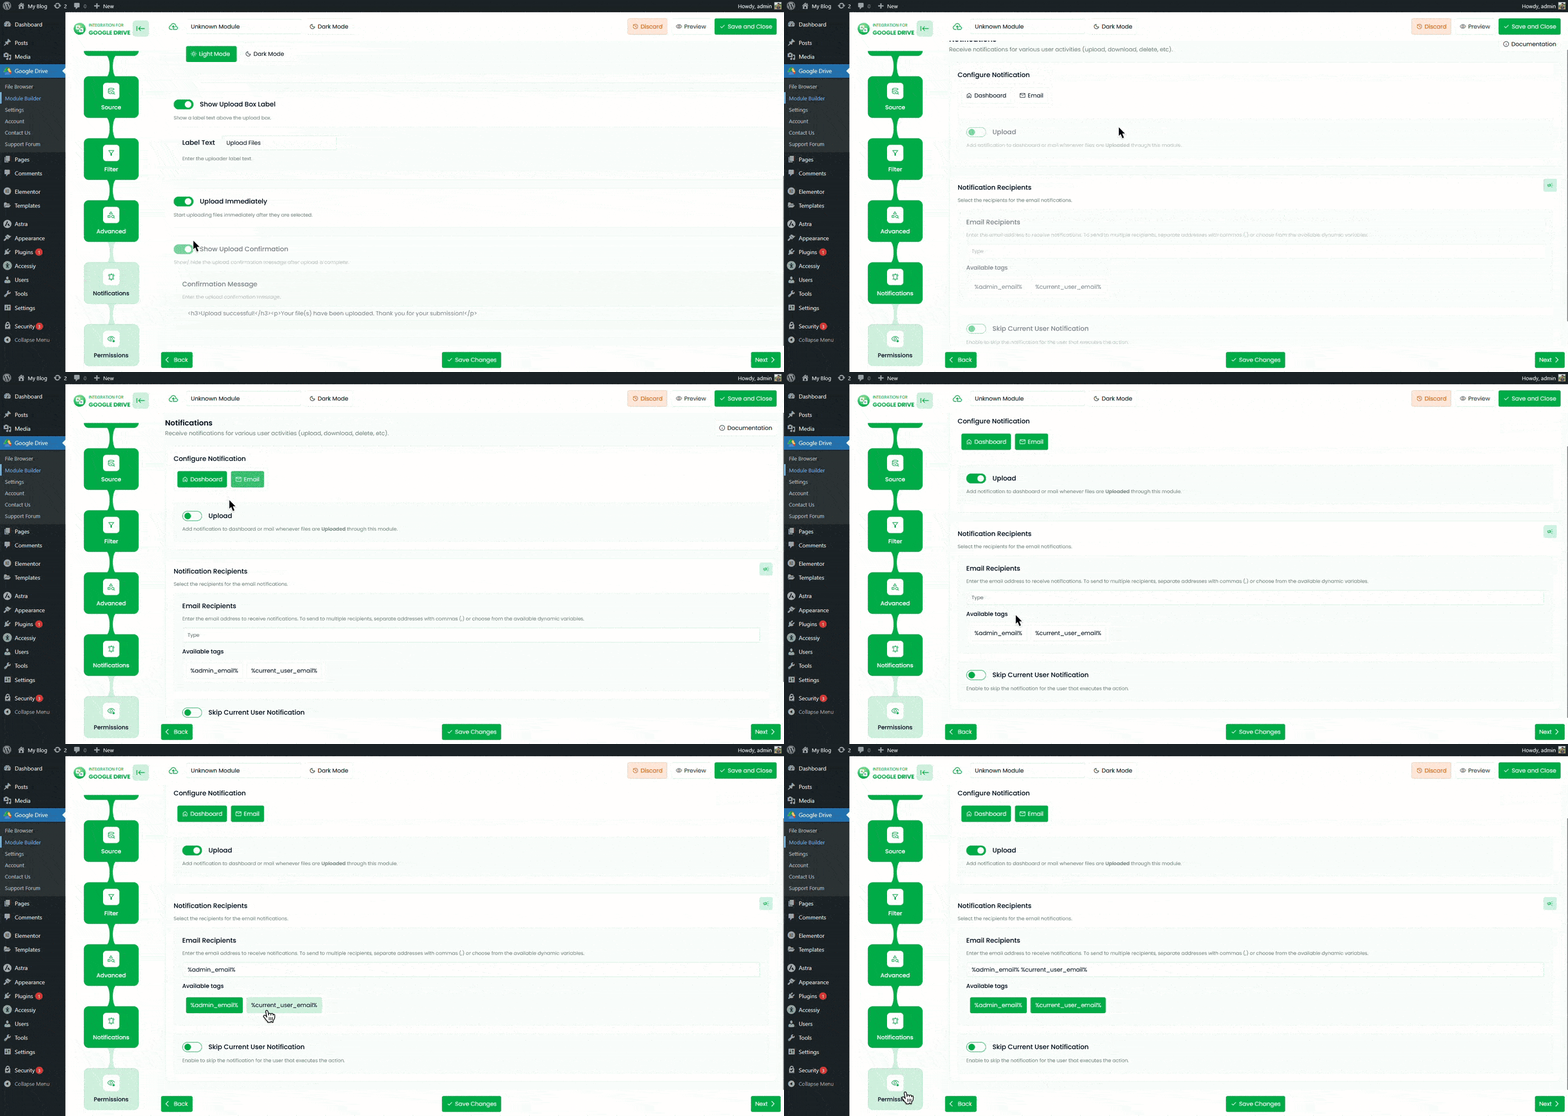
Enable notifications to get alerts when users interact with the module.
- Enable Notifications: Turn on to receive notifications via Dashboard or Email (or both).
- Upload Notification: Receive an alert whenever a file is uploaded.
- Notification Recipients: Enter one or more email addresses separated by commas (e.g.,
%admin_email%, %user_email%). - Skip Current User Notification: Disable notifications for the user performing the upload.
Step 6: Configure the Permissions Tab
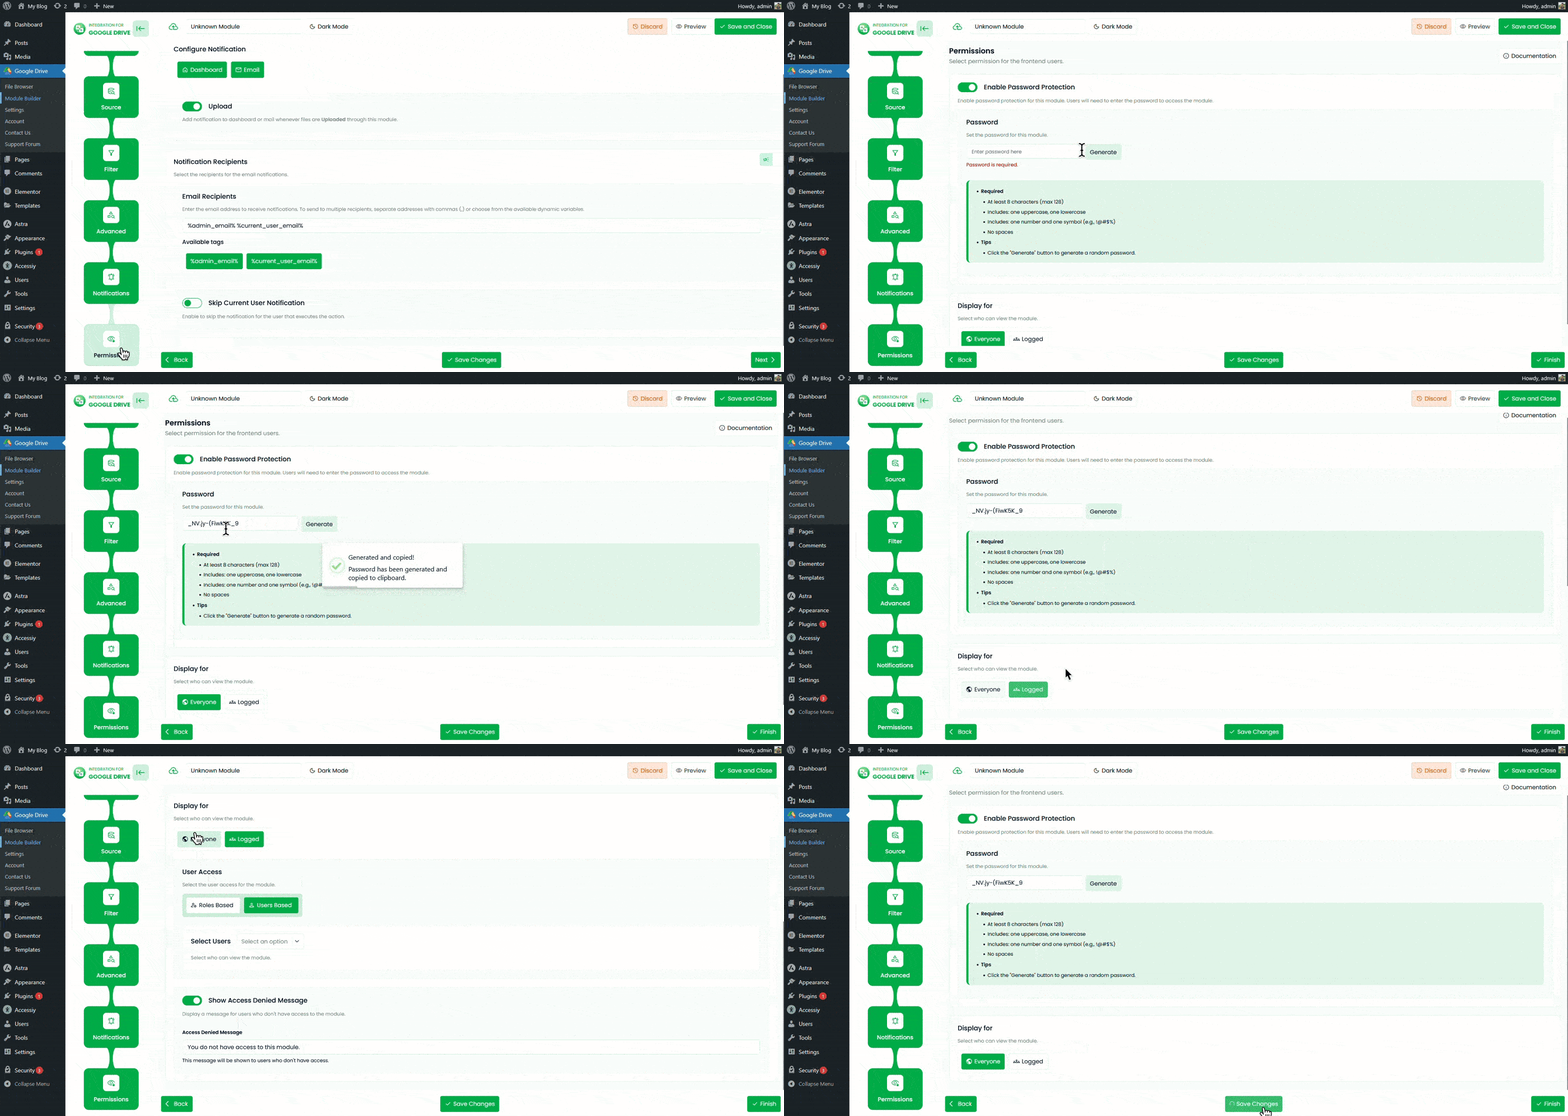
In the Permissions tab, control who can access and use the uploader module.
- Enable Password Protection: Require users to enter a password before accessing the module.
- Password: Set the password for this module.
- Display For: Choose who can see the module.
- Everyone: The module will be visible to all users.
- Logged: Restrict the module to logged-in users.
- User Access: When Logged is selected, you’ll see two more options:
- Role-Based Access: Select which user roles can access the module.
- User-Based Access: Select specific users who can access the module.
- Show Denied Message: Display a message for users who don’t have permission to access the uploader.
After completing all configurations, click Save Changes. Copy the generated shortcode from the Module Builder page and paste it inside any post or page where you want the uploader to appear.
Output
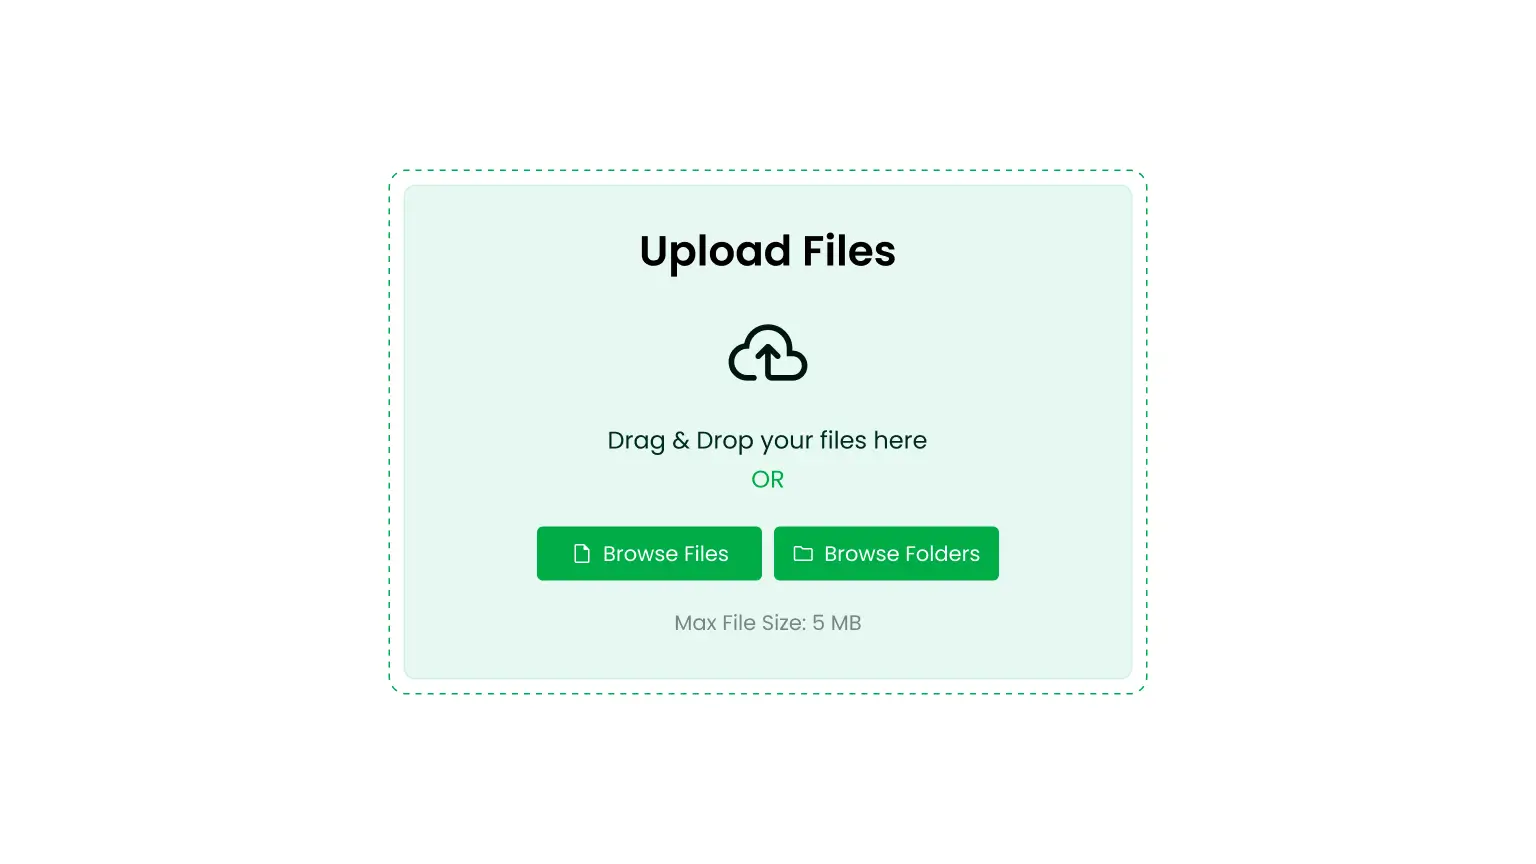
Once embedded, the File Uploader Module will appear on your page, allowing users to upload files directly to the selected Google Drive folder.