


- Solutions
- WordPress
7 Best CRM Plugins for WordPress in 2026 (Compared & Ranked)
Ahanaf Istiyad14 min read
Loading page…
Loading page…
Loading page…
In the ever-evolving world of web design, small details can significantly impact user engagement and brand identity. One such detail is the mouse cursor, the tiny pointer that guides users across your site. While the default arrow or hand icon is functional, customizing it can add personality, improve interactivity, and create a memorable browsing experience.
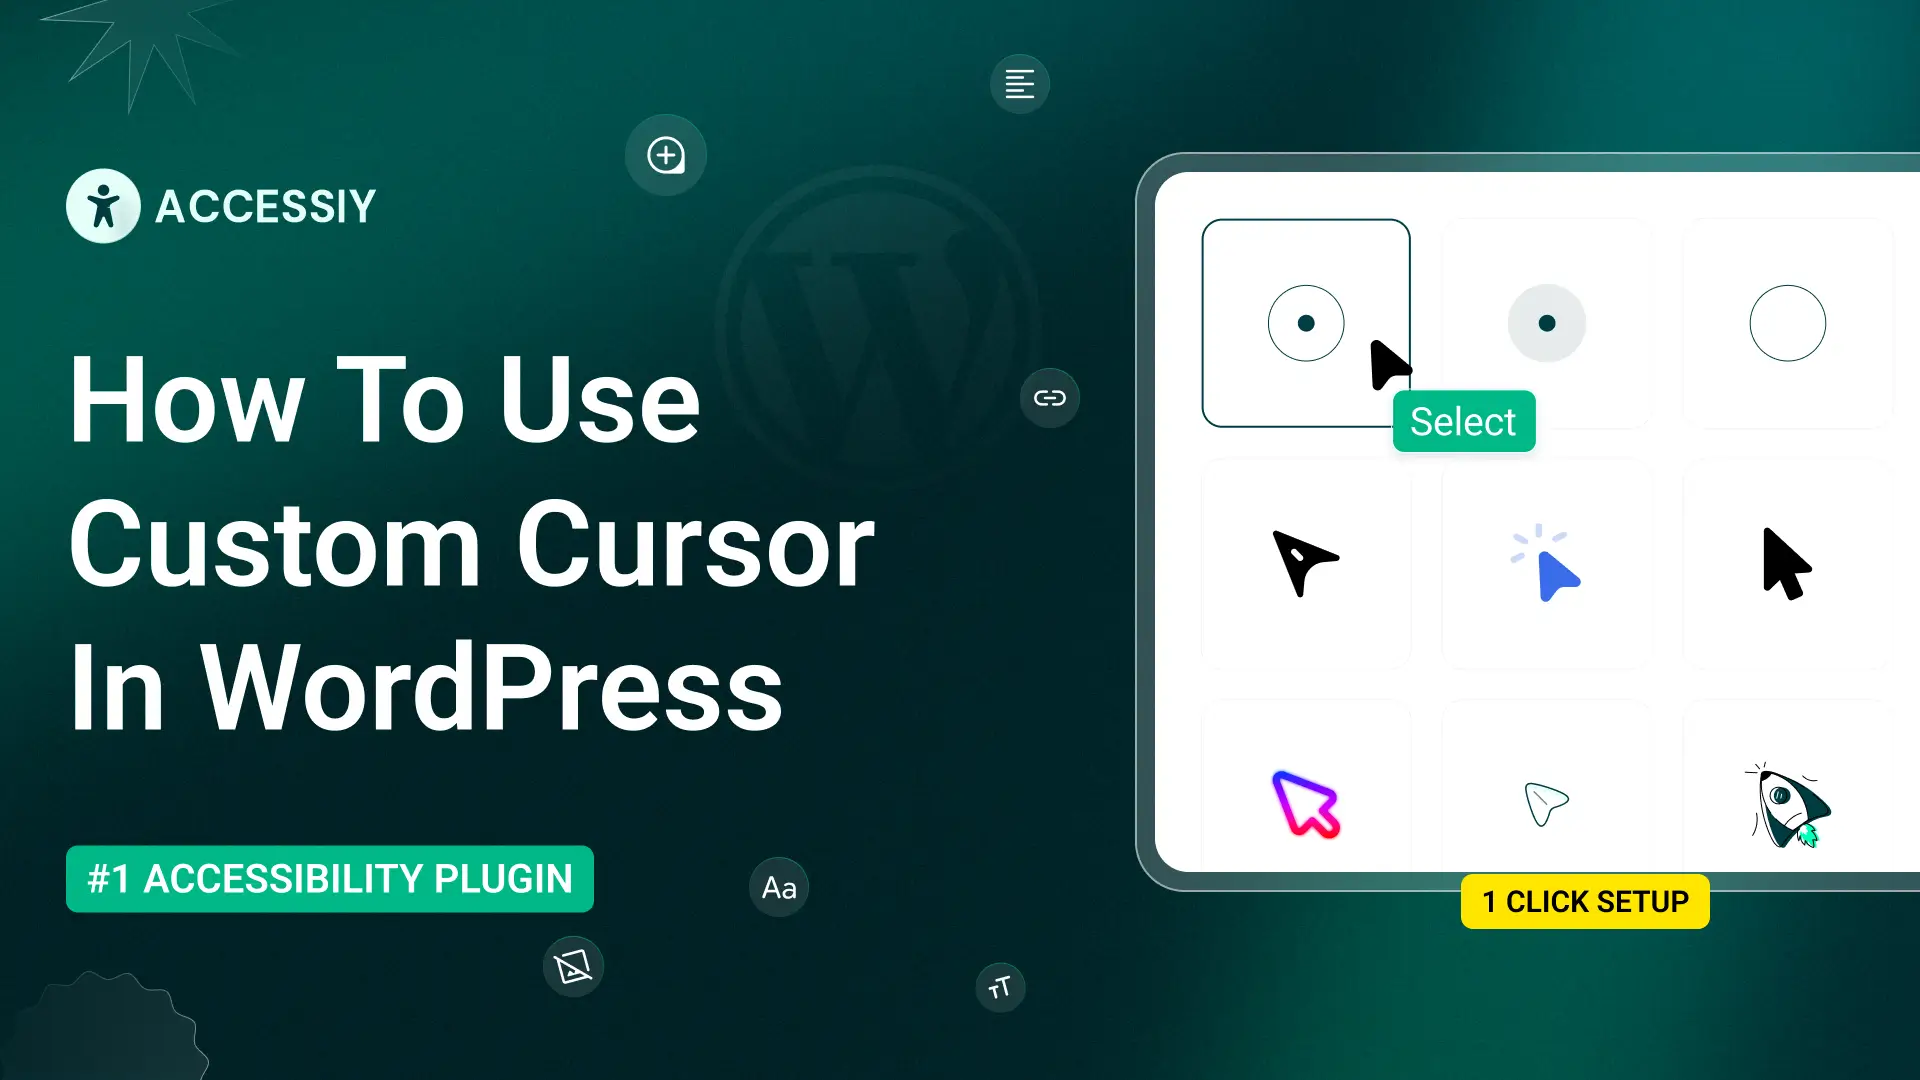
In the ever-evolving world of web design, small details can significantly impact user engagement and brand identity. One such detail is the mouse cursor, the tiny pointer that guides users across your site. While the default arrow or hand icon is functional, customizing it can add personality, improve interactivity, and create a memorable browsing experience. If you’re running a WordPress website, implementing a custom cursor in 2025 is easier than ever, thanks to advanced plugins, CSS tweaks, and theme integrations.
This comprehensive guide will walk you through everything you need to know about how to use Custom Cursor In WordPress Website. Whether you’re a beginner looking for no-code solutions or a developer ready to dive into CSS and JavaScript, we’ve got you covered. By the end, you’ll have a stylish, animated cursor that aligns perfectly with your site’s aesthetic. Let’s dive in!
Before we get into the how-to, let’s explore why custom cursors matter. They aren’t just a trend—they’re a strategic tool for enhancing user experience (UX). Recent web design insights suggest that interactive elements like custom cursors can boost engagement by up to 20% by drawing attention to key areas and providing subtle feedback. Here’s why they’re worth your time:
However, balance is key—overly distracting cursors can frustrate users. Aim for elegant, responsive, and performant designs.
Enhance your WordPress site’s interactivity with a custom mouse cursor using the Accessiy plugin by CodeConfig. This feature adds a unique, engaging touch while prioritizing accessibility. Follow these steps to configure your custom cursor.
Ensure the Accessiy plugin is installed and activated on your WordPress site. For detailed instructions, refer to the Accessiy Installation Guide.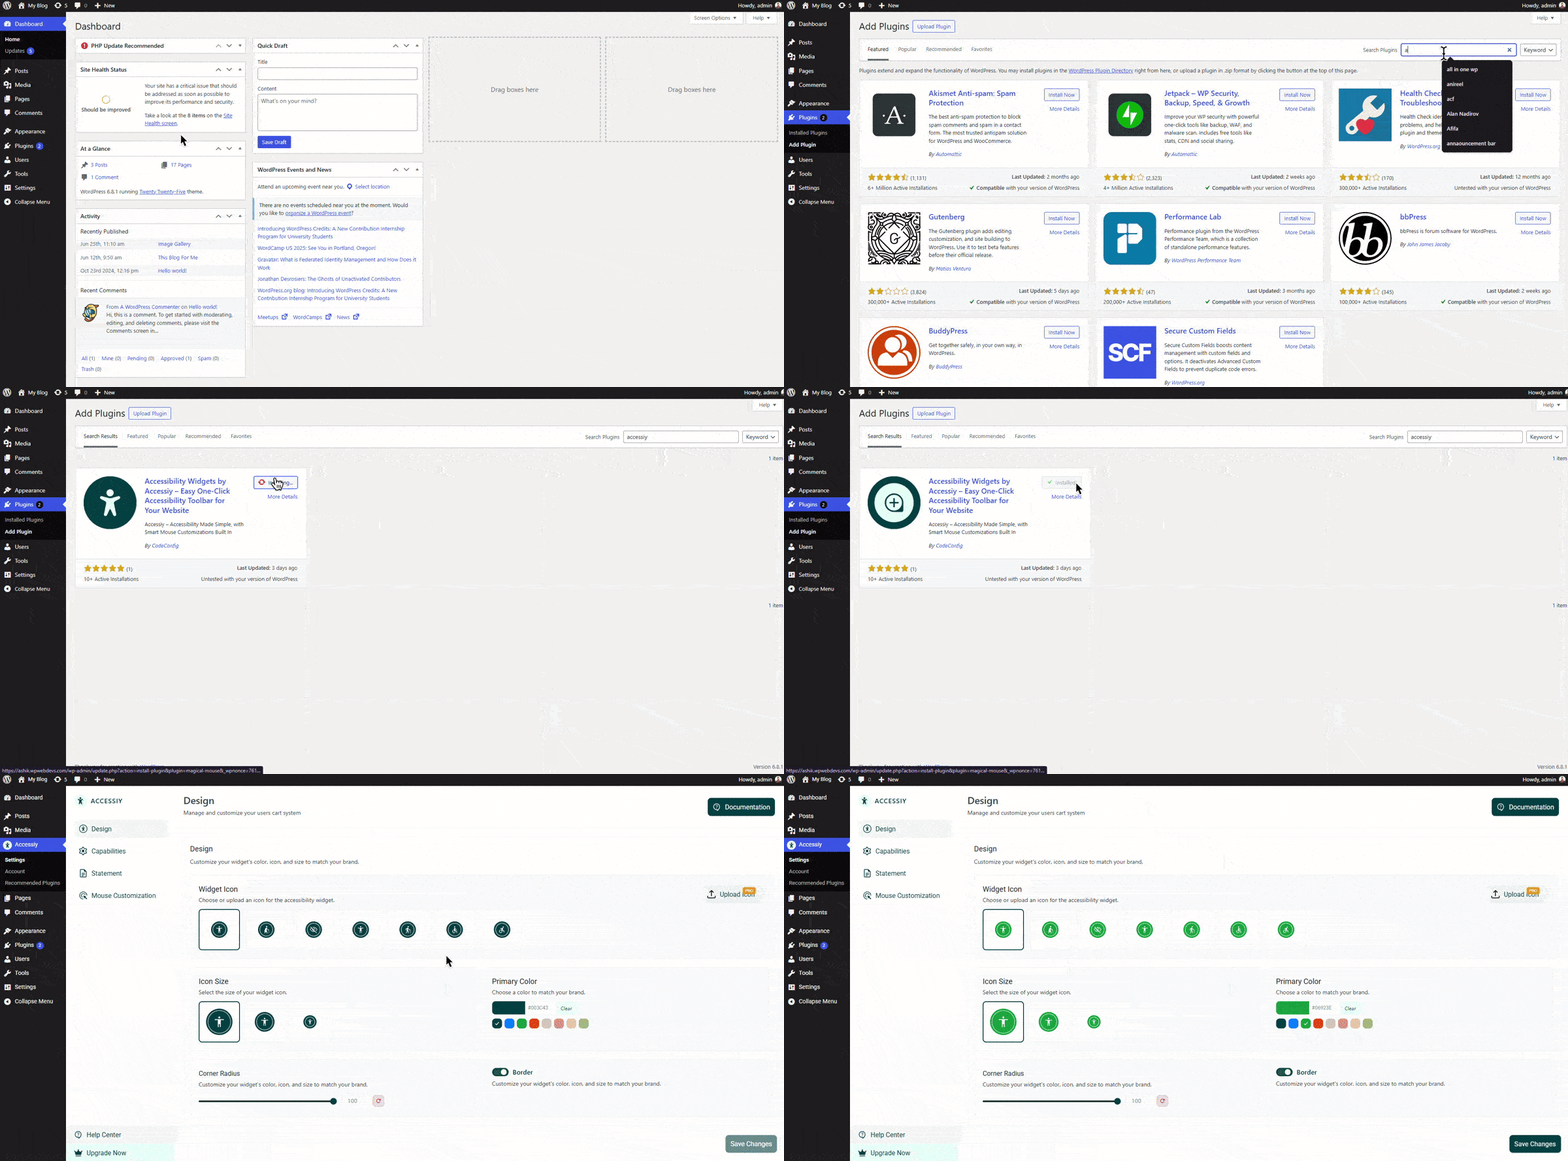
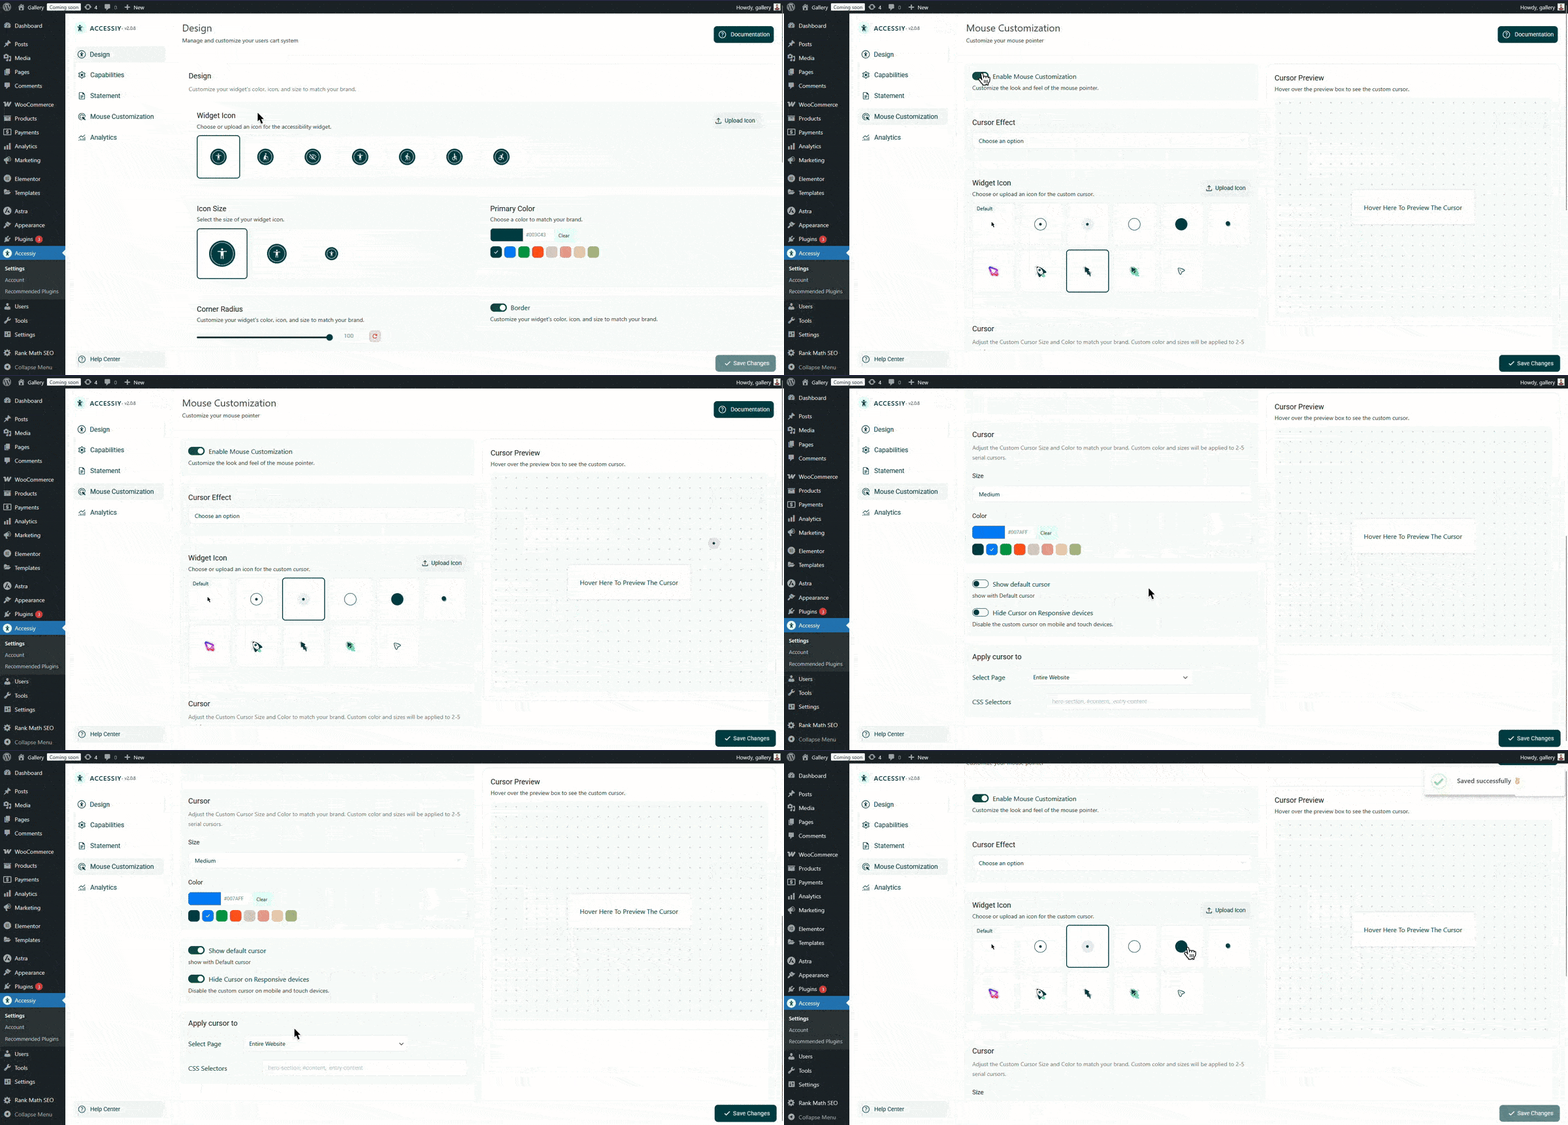
Configure the following options to personalize your cursor:
Save your settings and preview your website to ensure the custom cursor displays and functions correctly across all devices.
If you’re interested in using this plugin, go here to download it for free: Free Download
For those comfortable with code, CSS offers a lightweight way to customize cursors. WordPress themes allow you to add custom CSS via the Customizer or a child theme.
To change the cursor to a custom image, use the CSS cursor property with a URL to your image. Ensure the image is 32x32 pixels or smaller for best results, as larger images may not render correctly.
body {
cursor: url('path-to-your-image/cursor.png'), auto;
}
a:hover {
cursor: url('path-to-your-image/hover-cursor.png'), pointer;
}
path-to-your-image with the image URLs from your media library.For dynamic effects like cursor trails, animated dots, or interactive shapes, JavaScript is the way to go. This method requires adding code to your WordPress site, typically via a child theme or a plugin like Code Snippets.
Below is a simple script to create a trailing dot cursor using JavaScript and CSS. This creates a small circle that follows the mouse with a smooth animation.
/* Add to Additional CSS */
.custom-cursor {
position: fixed;
width: 20px;
height: 20px;
background: #007bff;
border-radius: 50%;
pointer-events: none;
transform: translate(-50%, -50%);
transition: all 0.2s ease;
z-index: 9999;
}
.custom-cursor:hover {
transform: scale(1.5);
}

/* Add to footer.php or via Code Snippets */
<script>
document.addEventListener('DOMContentLoaded', () => {
const cursor = document.createElement('div');
cursor.classList.add('custom-cursor');
document.body.appendChild(cursor);

document.addEventListener('mousemove', (e) => {
cursor.style.left = e.clientX + 'px';
cursor.style.top = e.clientY + 'px';
});

document.querySelectorAll('a, button').forEach(el => {
el.addEventListener('mouseenter', () => {
cursor.style.transform = 'scale(1.5)';
});
el.addEventListener('mouseleave', () => {
cursor.style.transform = 'scale(1)';
});
});
});
</script>
footer.php before the closing </body> tag.Adding a custom cursor to your WordPress website in 2025 is a fantastic way to elevate your site’s UX and aesthetic. Whether you opt for a user-friendly plugin like Accessiy, a simple CSS tweak, or a dynamic JavaScript solution, the process is accessible to all skill levels. By following the methods outlined in this guide, you can create a cursor that not only looks great but also enhances engagement and reinforces your brand.
Start small, test thoroughly, and let your creativity shine. With the right approach, your custom cursor will make your WordPress site stand out in a crowded digital landscape. Happy designing!
This post is by Jakir, a member of the CodeConfig team who is always working to find solutions for our users and improve our services.
Thank you for reading and for your kind words and good wishes for us. We truly appreciate your support! ❤️
Whether you're just getting started or scaling fast, we've got you covered. Access helpful guidance.
