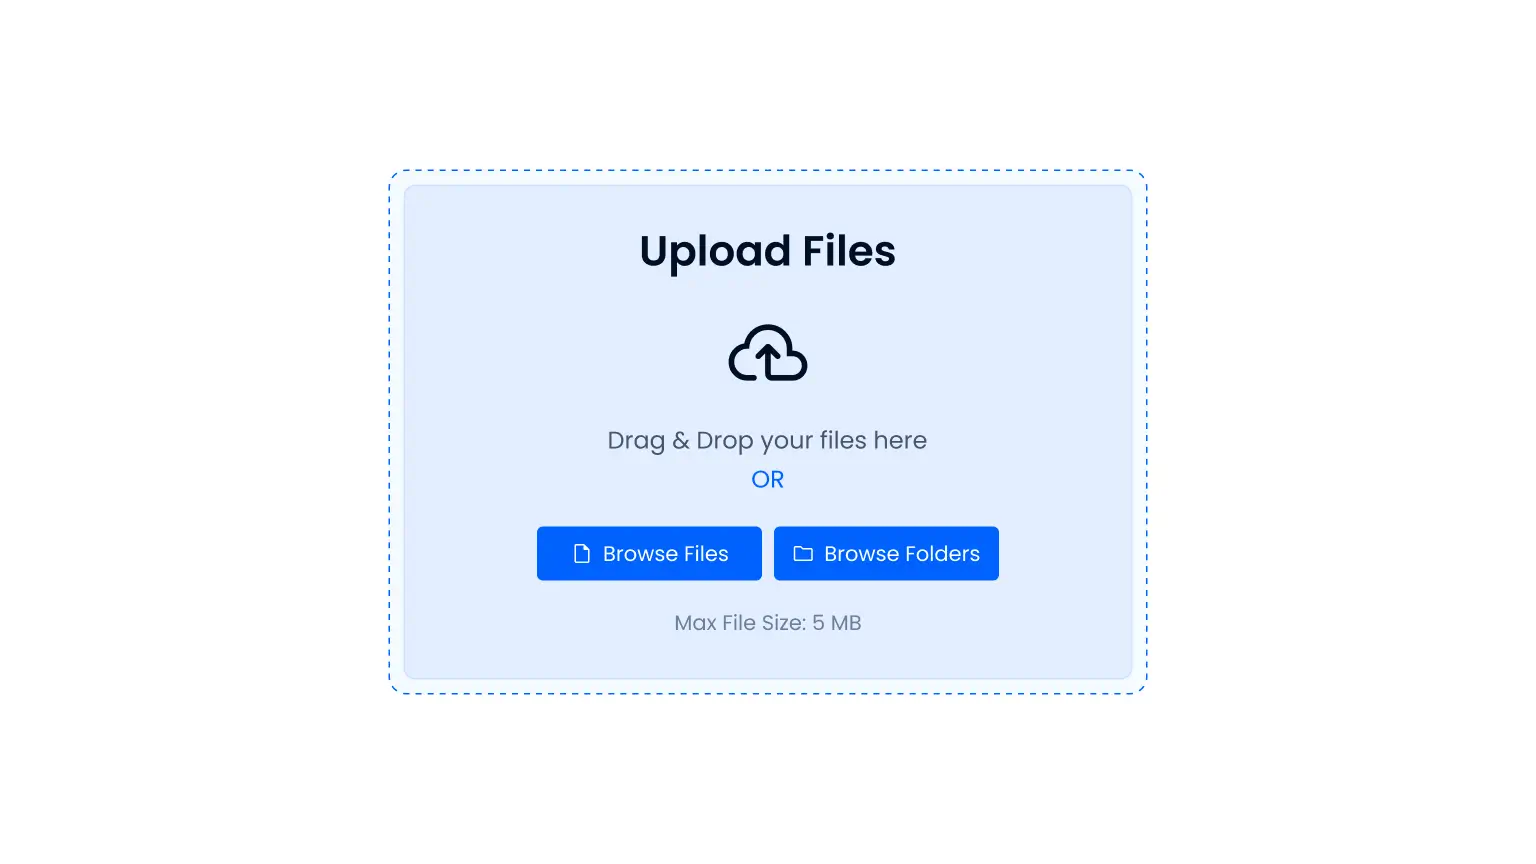
How to Create a File Uploader Using File Manager for Dropbox?
The File Uploader Module allows users to upload files directly to a specific Dropbox folder selected by you. This makes it easy to collect files from users without storing them on your WordPress server.
Step 1: Add the File Uploader Module
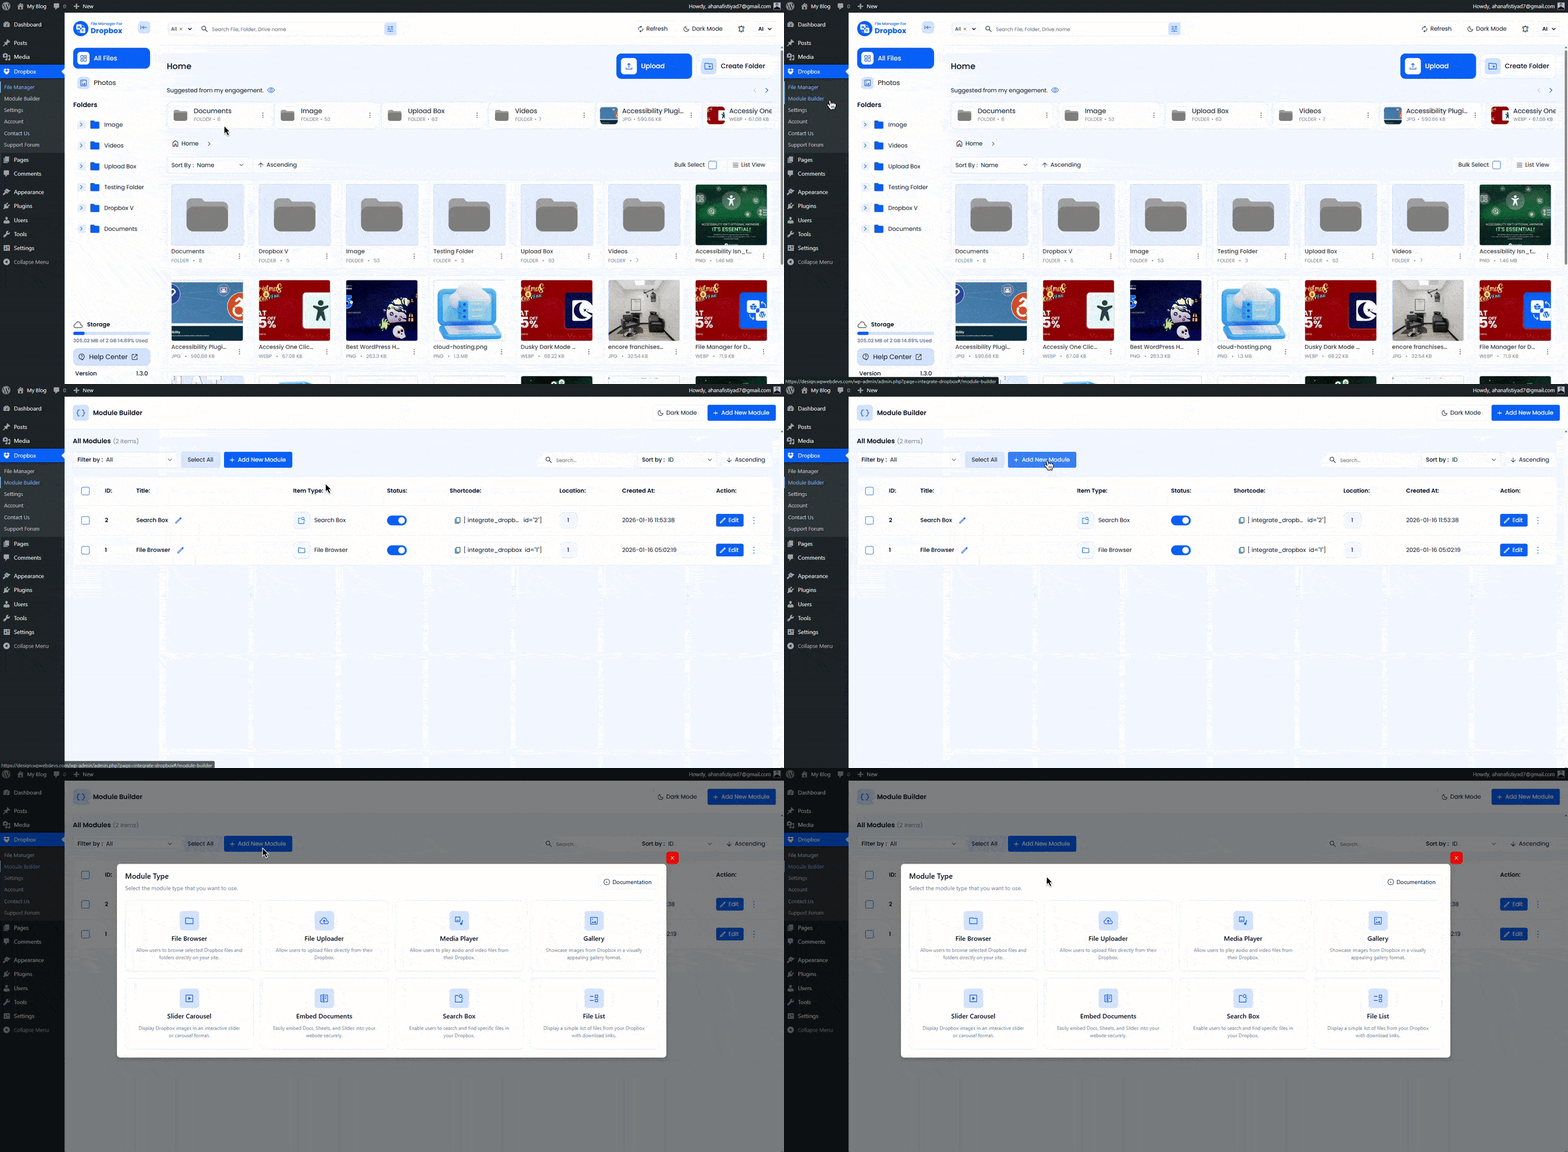
- Go to Module Builder from your WordPress dashboard.
- Click Add New Module.
- Select File Uploader from the Types tab.
- You can rename the module by clicking the pencil icon if needed.
Step 2: Configure the Sources Tab
In the Sources tab, select the Dropbox folder where uploaded files will be stored.
- Click the Folder or use the Select Box to choose a folder.
- You can also drag and select folders using your mouse.
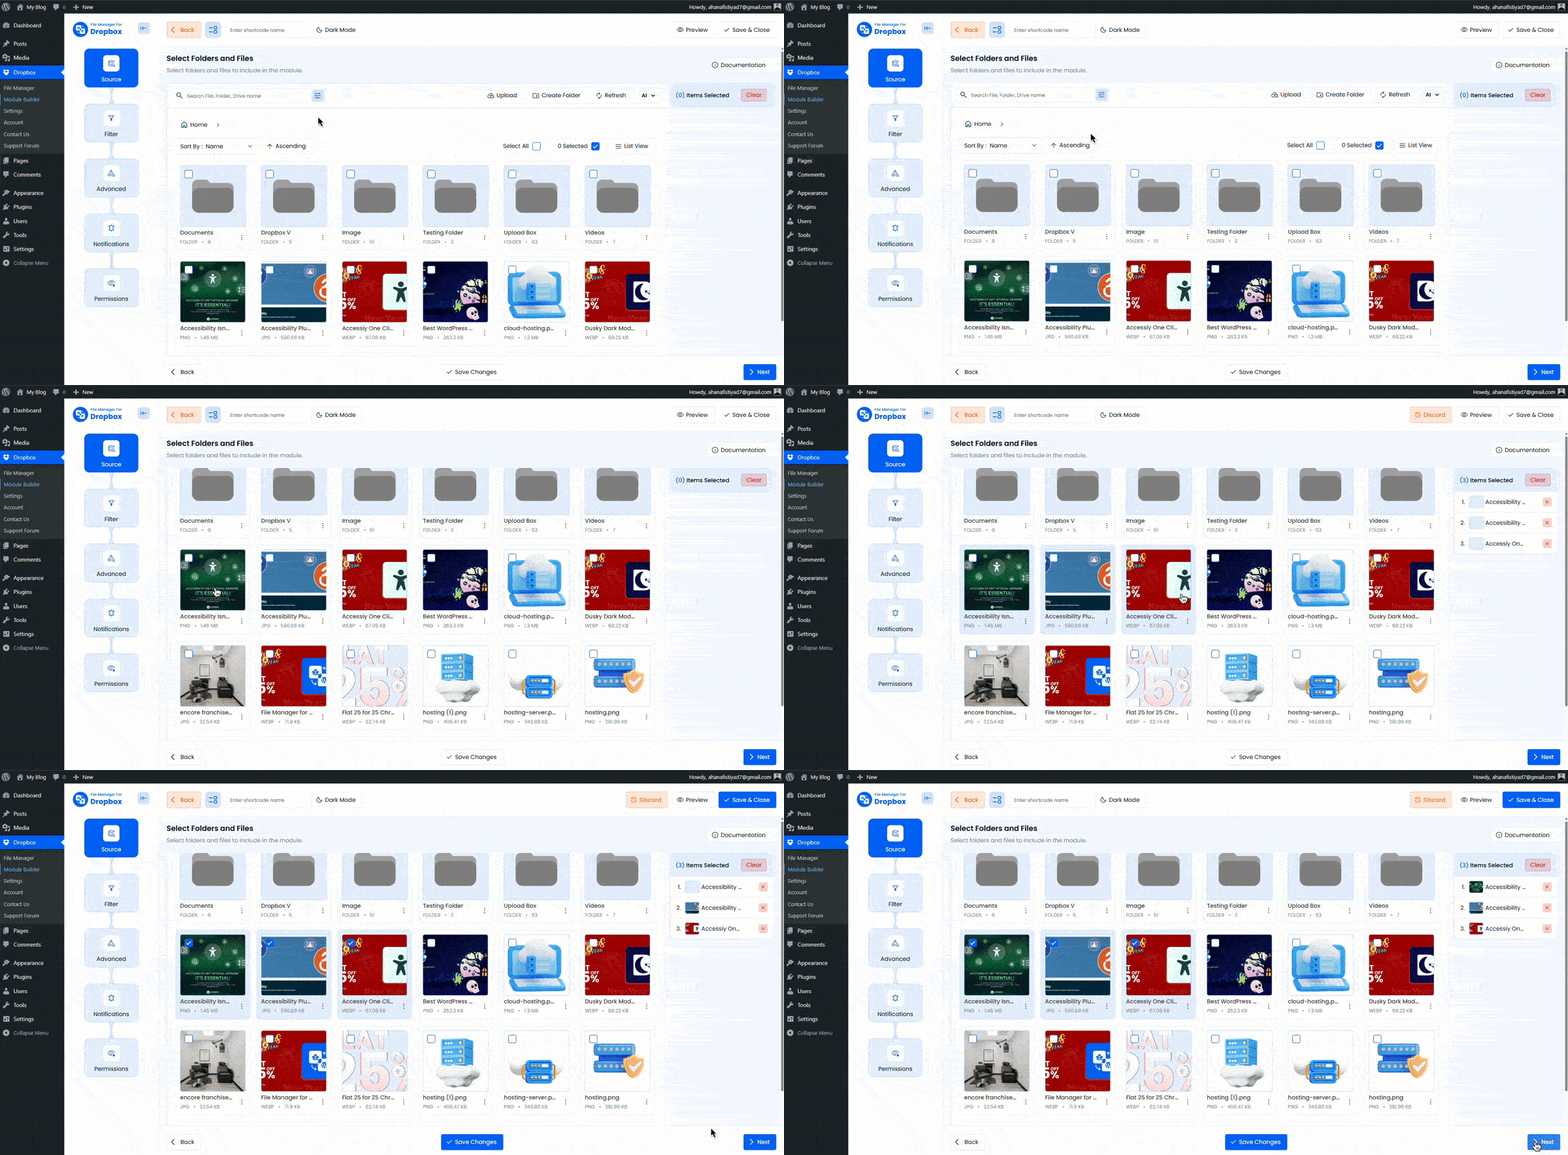
Once the folder is selected, click Next to continue.
Want to download this plugin? Free Download
Learn Also: Connect Dropbox With WordPress
Step 3: Configure the Filter Tab
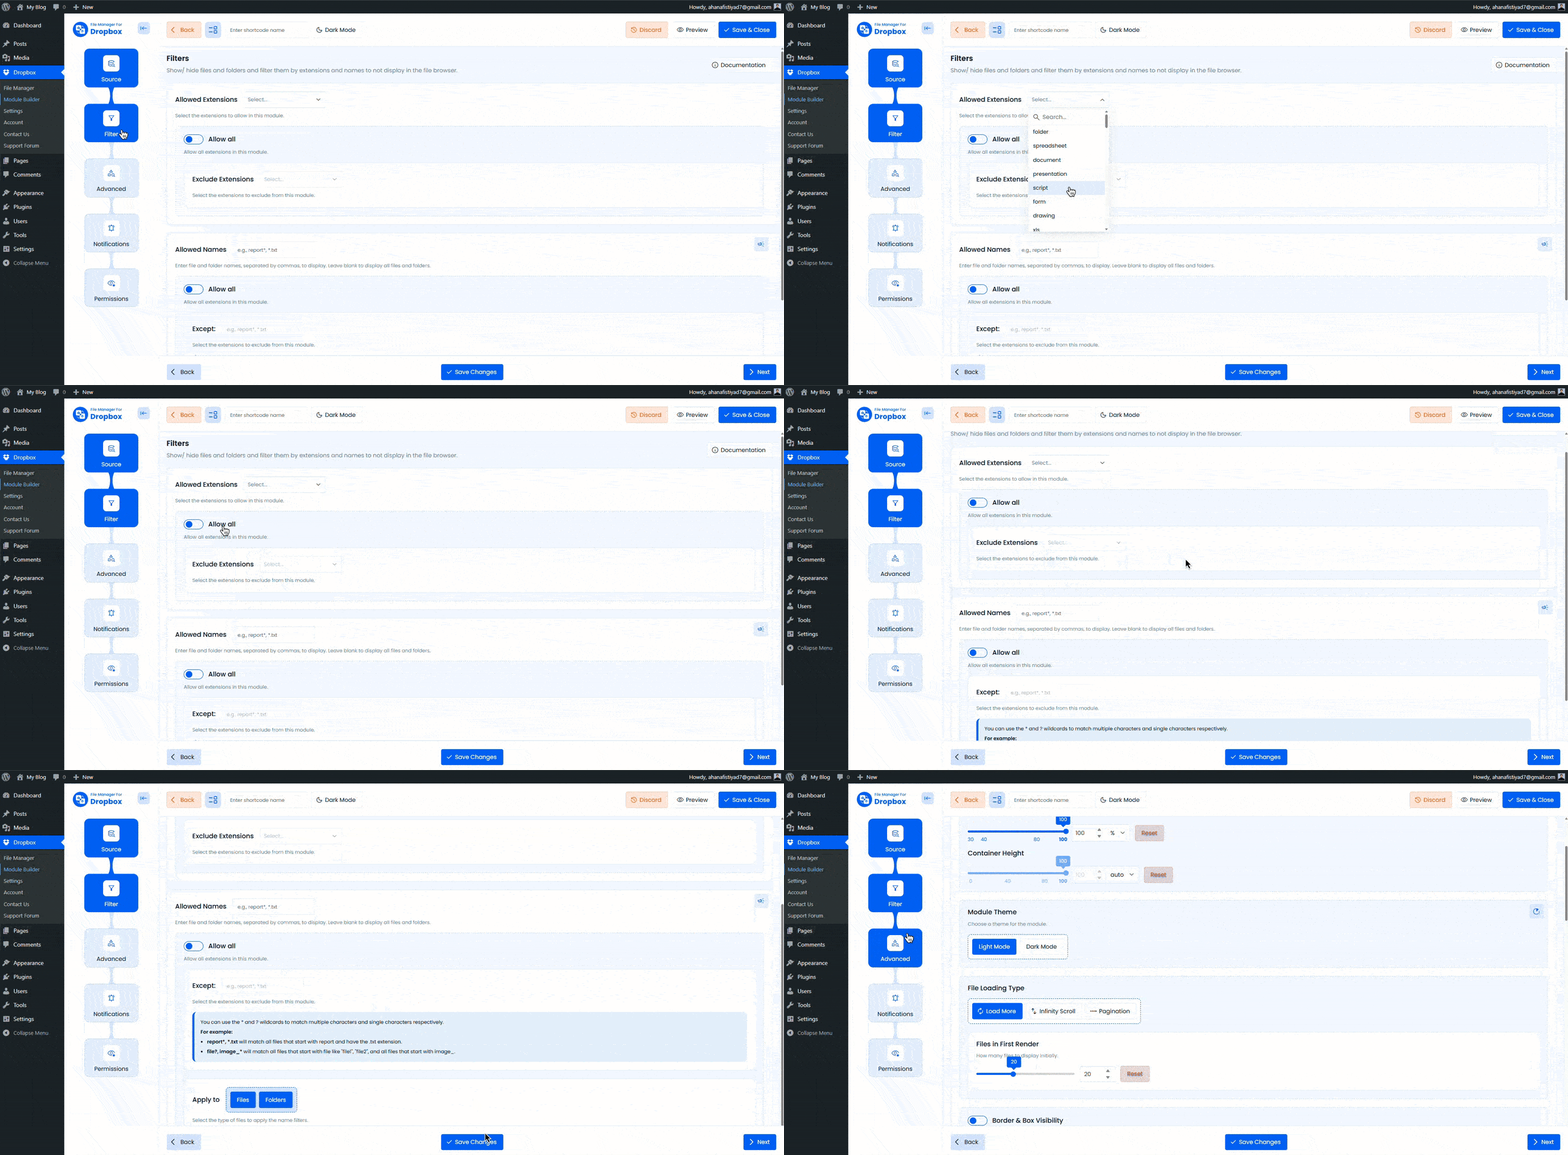
The Filter tab lets you control what users are allowed to upload.
- Allowed Extensions: Specify allowed file types (for example
jpg, png, pdf). Leave empty to allow all file types. - Max File Uploads: Set how many files users can upload at one time.
- Max File Size (MB): Define the maximum allowed file size.
- Min File Size (MB): Define the minimum allowed file size.
Step 4: Configure the Advanced Tab
In the Advanced tab, you can customize the uploader’s appearance and behavior.
- Container Size: Set the width and height of the uploader. Leave empty to use default sizing.
- Module Theme: Choose between light mode and dark mode.
- Show Upload Box Label: Display a label below the upload button.
- Upload Immediately: Start uploading files as soon as they are selected.
- Folder Upload: Allow users to upload an entire folder to Dropbox instead of selecting individual files.
- Multiple Selection: Enable users to select and upload multiple files at once.
- Uploader Preview Mode: Show a preview of selected files before the upload starts.
- File Rename: Allow users to rename files before uploading them to Dropbox.
- Show Upload Confirmation: Show or hide a confirmation message after upload completes.
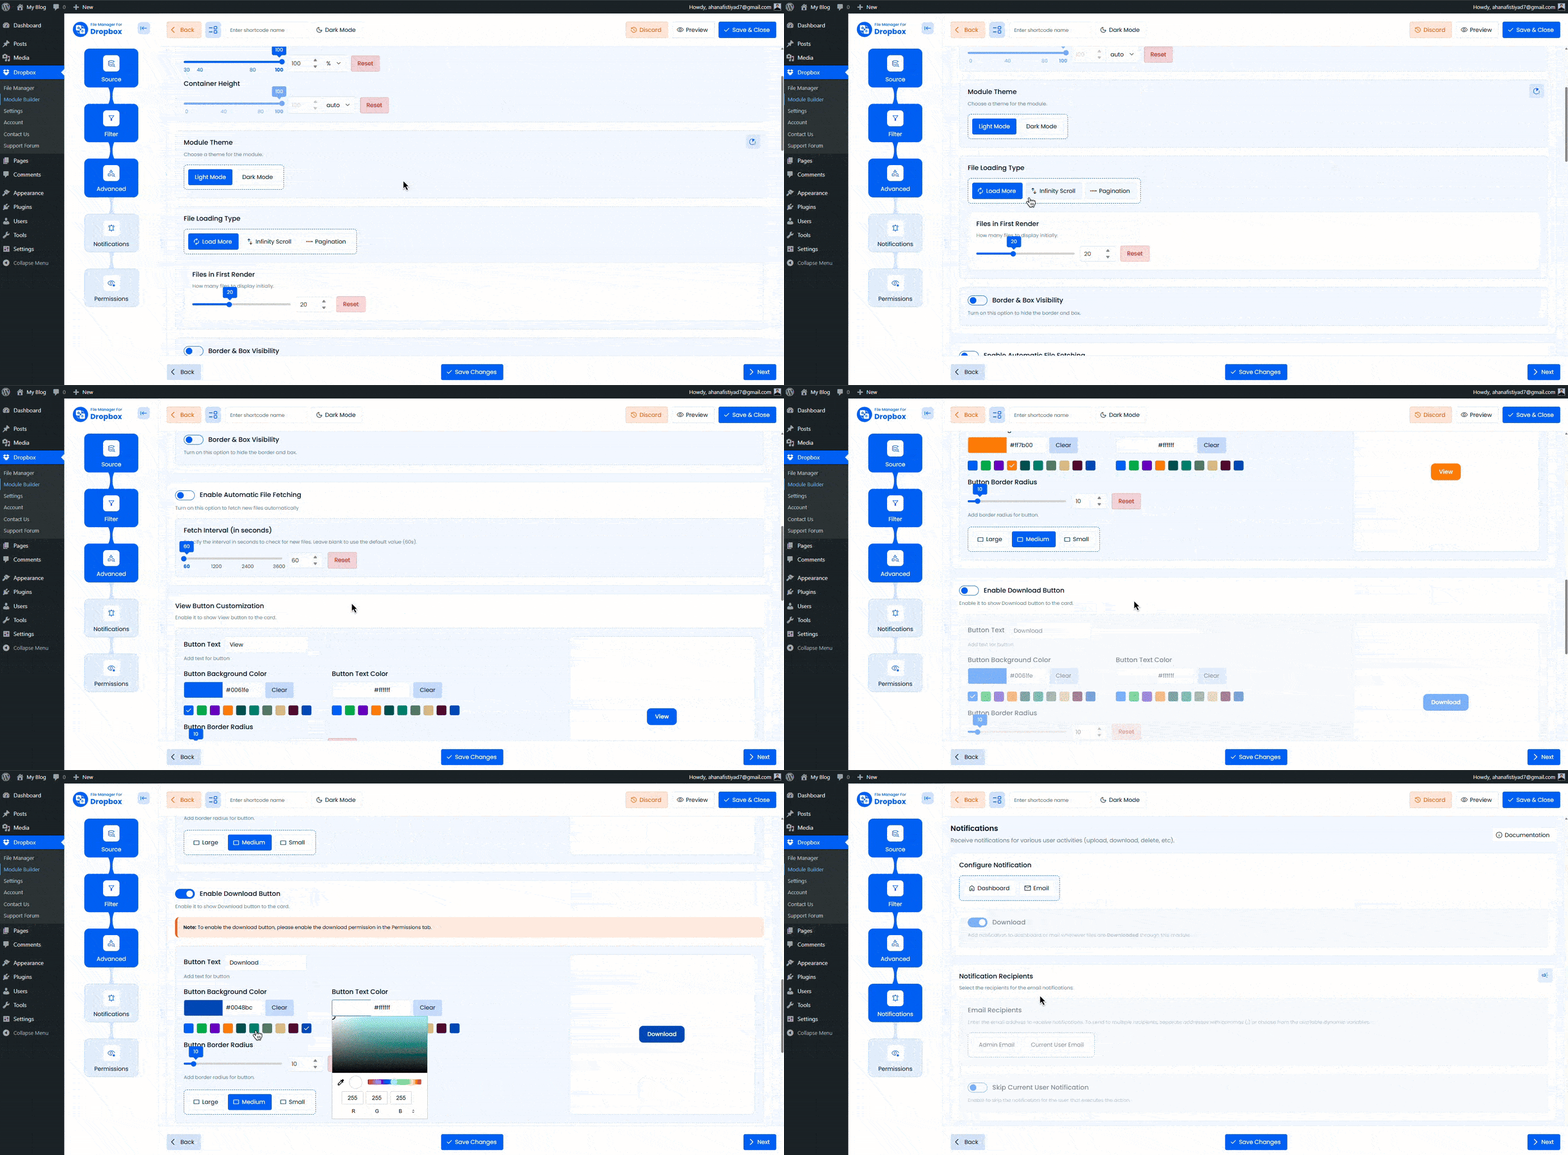
Step 5: Configure the Notifications Tab
Enable notifications to stay informed about upload activity.
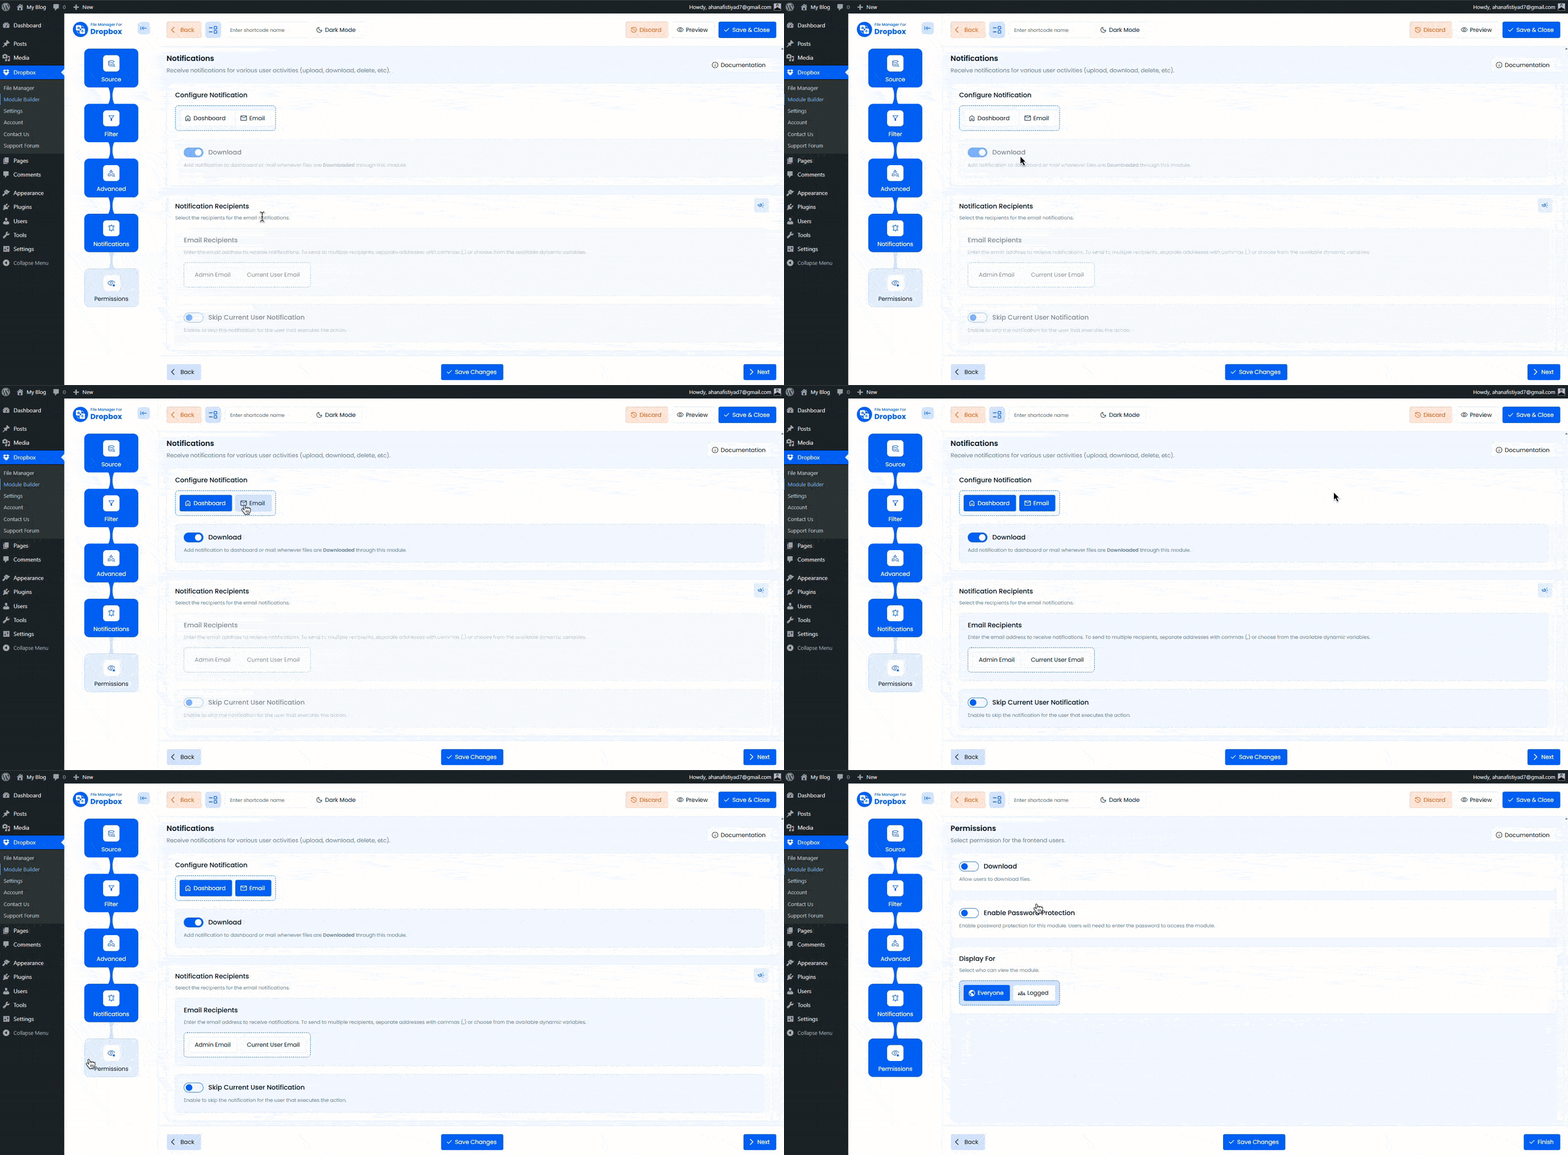
- Enable Notifications: Choose where notifications appear: Dashboard, Email, or both.
- Upload Notification: Receive a notification whenever a file is uploaded.
- Notification Recipients: Enter one or more email addresses separated by commas.Example:
%admin_email%, %user_email% - Skip Current User Notification: Do not send notifications to the user who uploaded the file.
Step 6: Configure the Permissions Tab
In the Permissions tab, control who can see and use the uploader.
- Enable Password Protection: Require a password to access the uploader.
- Password: Set the password for this module.
- Display For: Choose who can see the uploader.
- Everyone: Visible to all visitors.
- Logged: Visible only to logged-in users.
- User Access: When Logged is selected, configure access rules.
- Role-Based Access: Allow specific user roles.
- User-Based Access: Allow selected users.
- Show Denied Message: Display a custom message when a user does not have access.
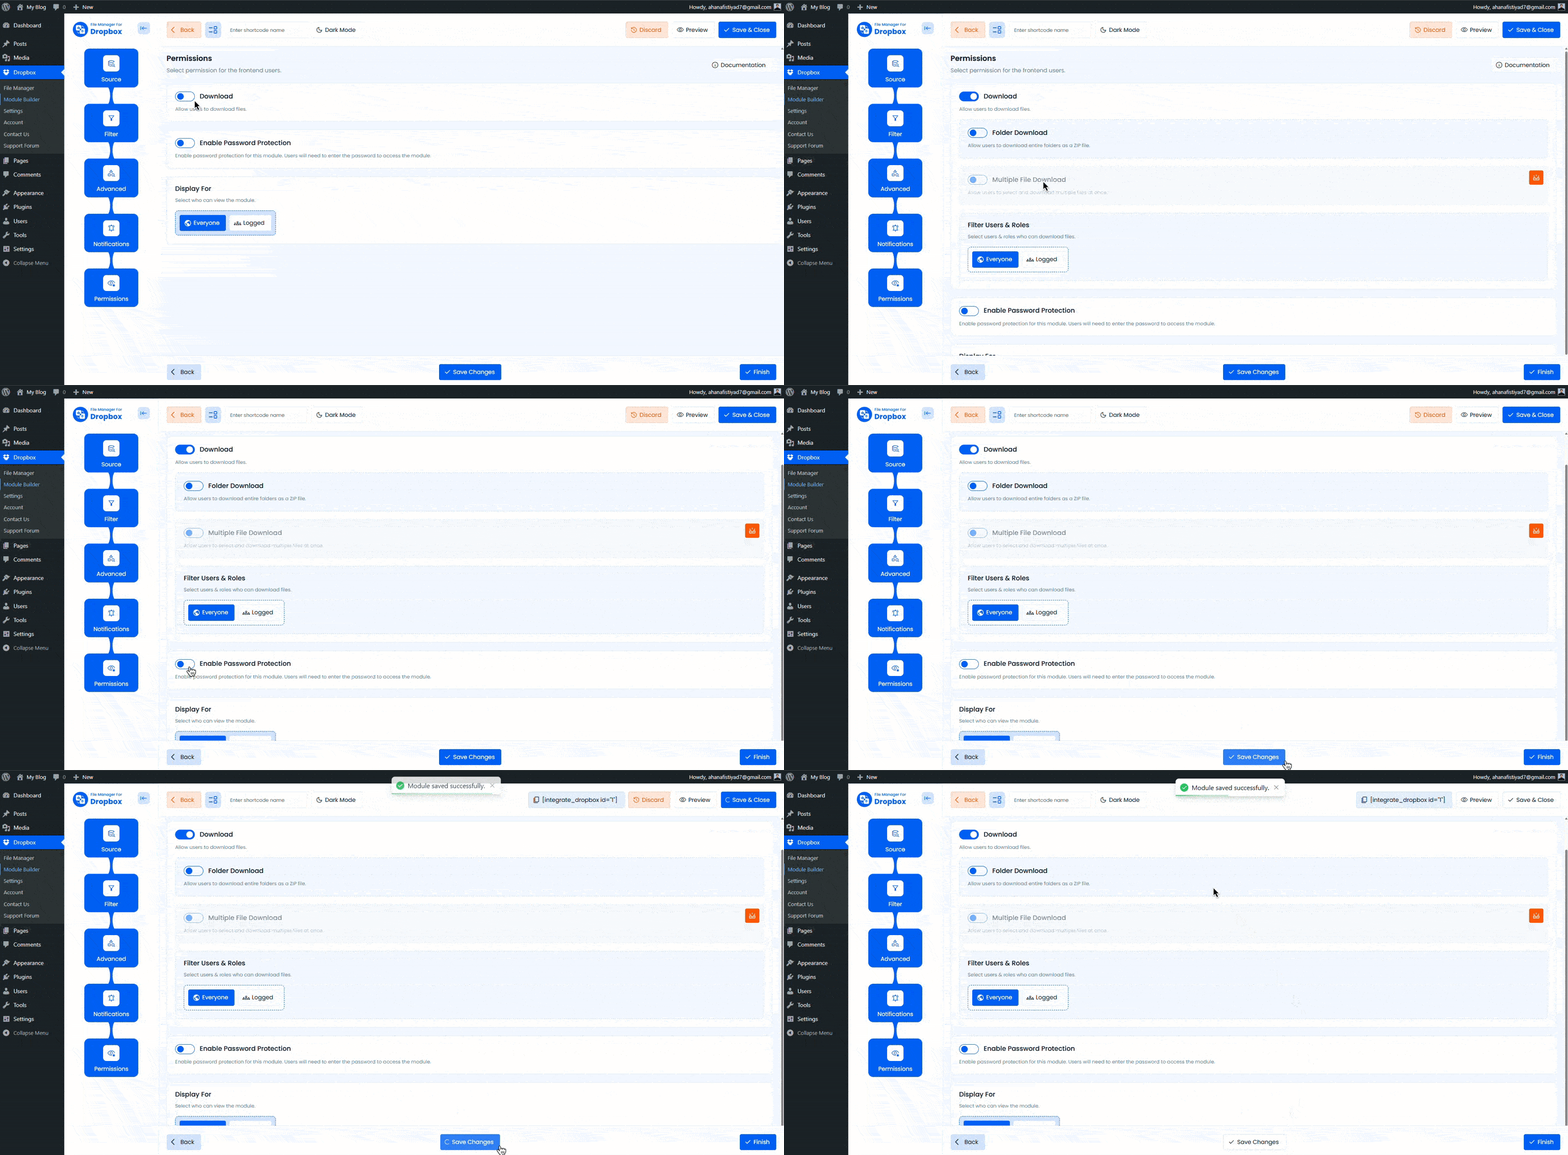
After finishing all settings, click Save Changes. Copy the generated shortcode from the Module Builder and paste it into any post or page where you want the uploader to appear.
Output
Once embedded, the File Uploader Module will appear on your page, allowing users to upload files directly to the selected Dropbox folder.