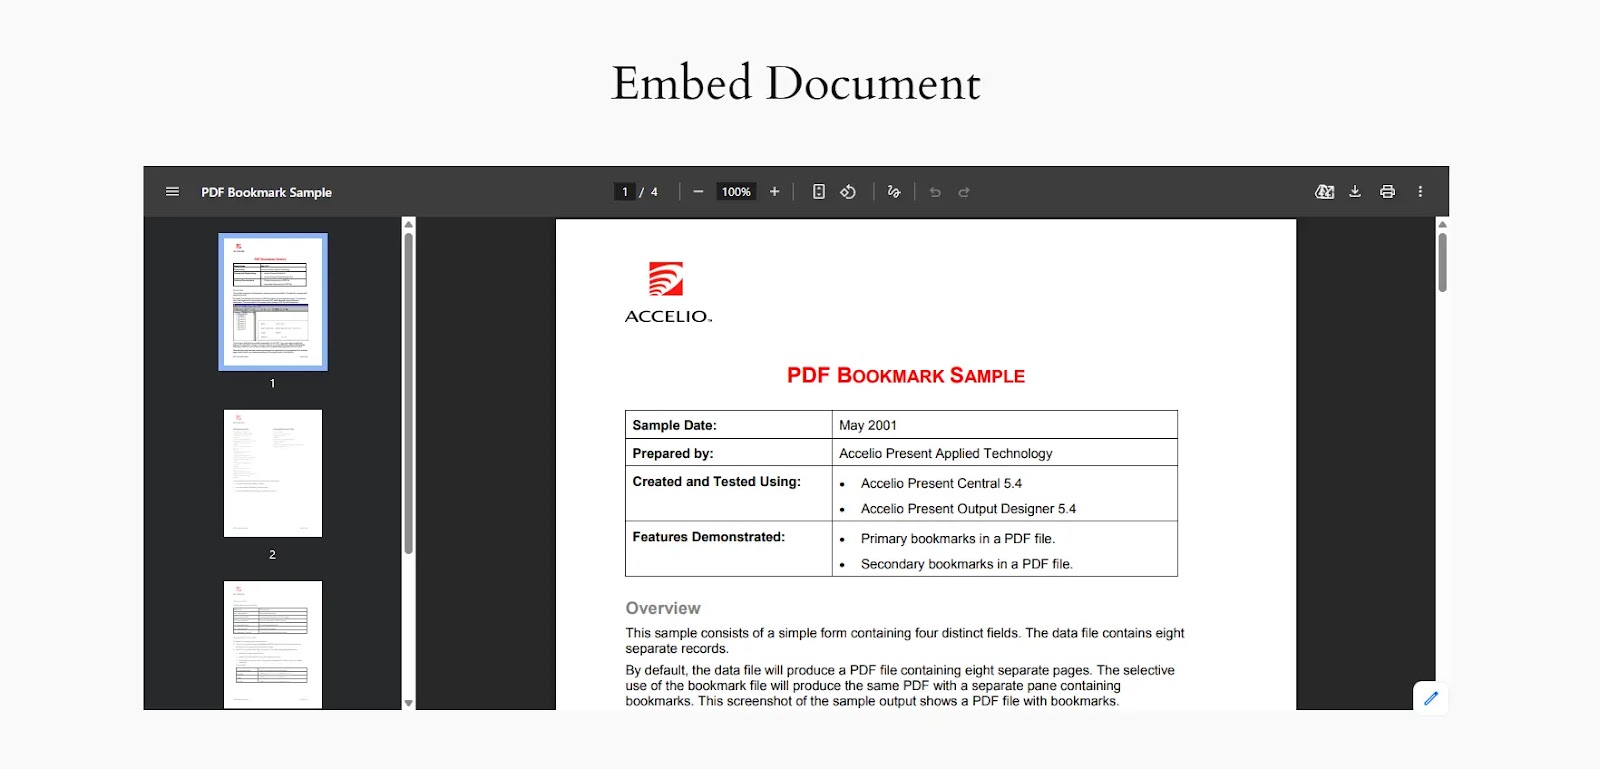
How To Embed Dropbox Documents in WordPress?
The Embed Documents module in File Manager for Dropbox lets you display documents like PDFs, Word files, Excel sheets, MP3s, and MP4s directly on your WordPress site. Visitors can view files without downloading them, making access faster and more convenient.
Step 1: Add the Embed Documents Module
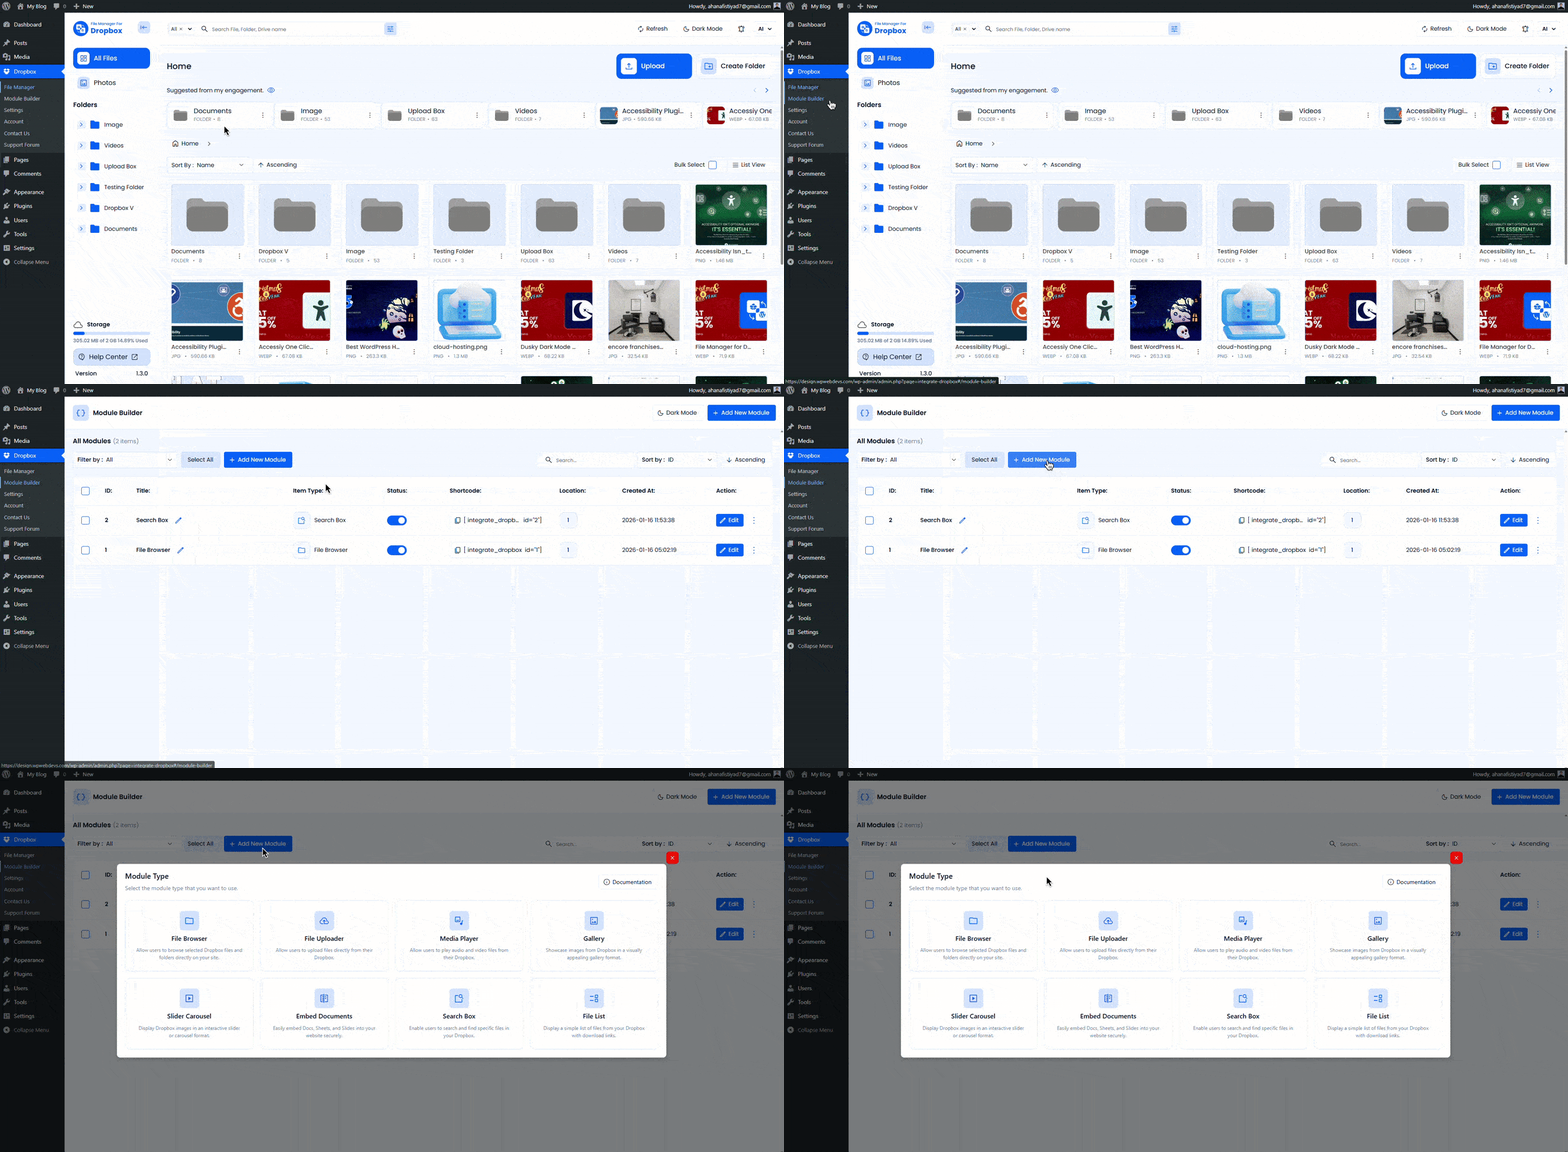
- Go to File Manager for Dropbox > Module Builder from your WordPress dashboard.
- Click Add New Module.
- Select the Embed Documents module from the module list.
- Optionally, rename the module to match your project.
Want to download this plugin? Free Download
Learn Also: Connect Dropbox With WordPress
Step 2: Configure the Source Tab
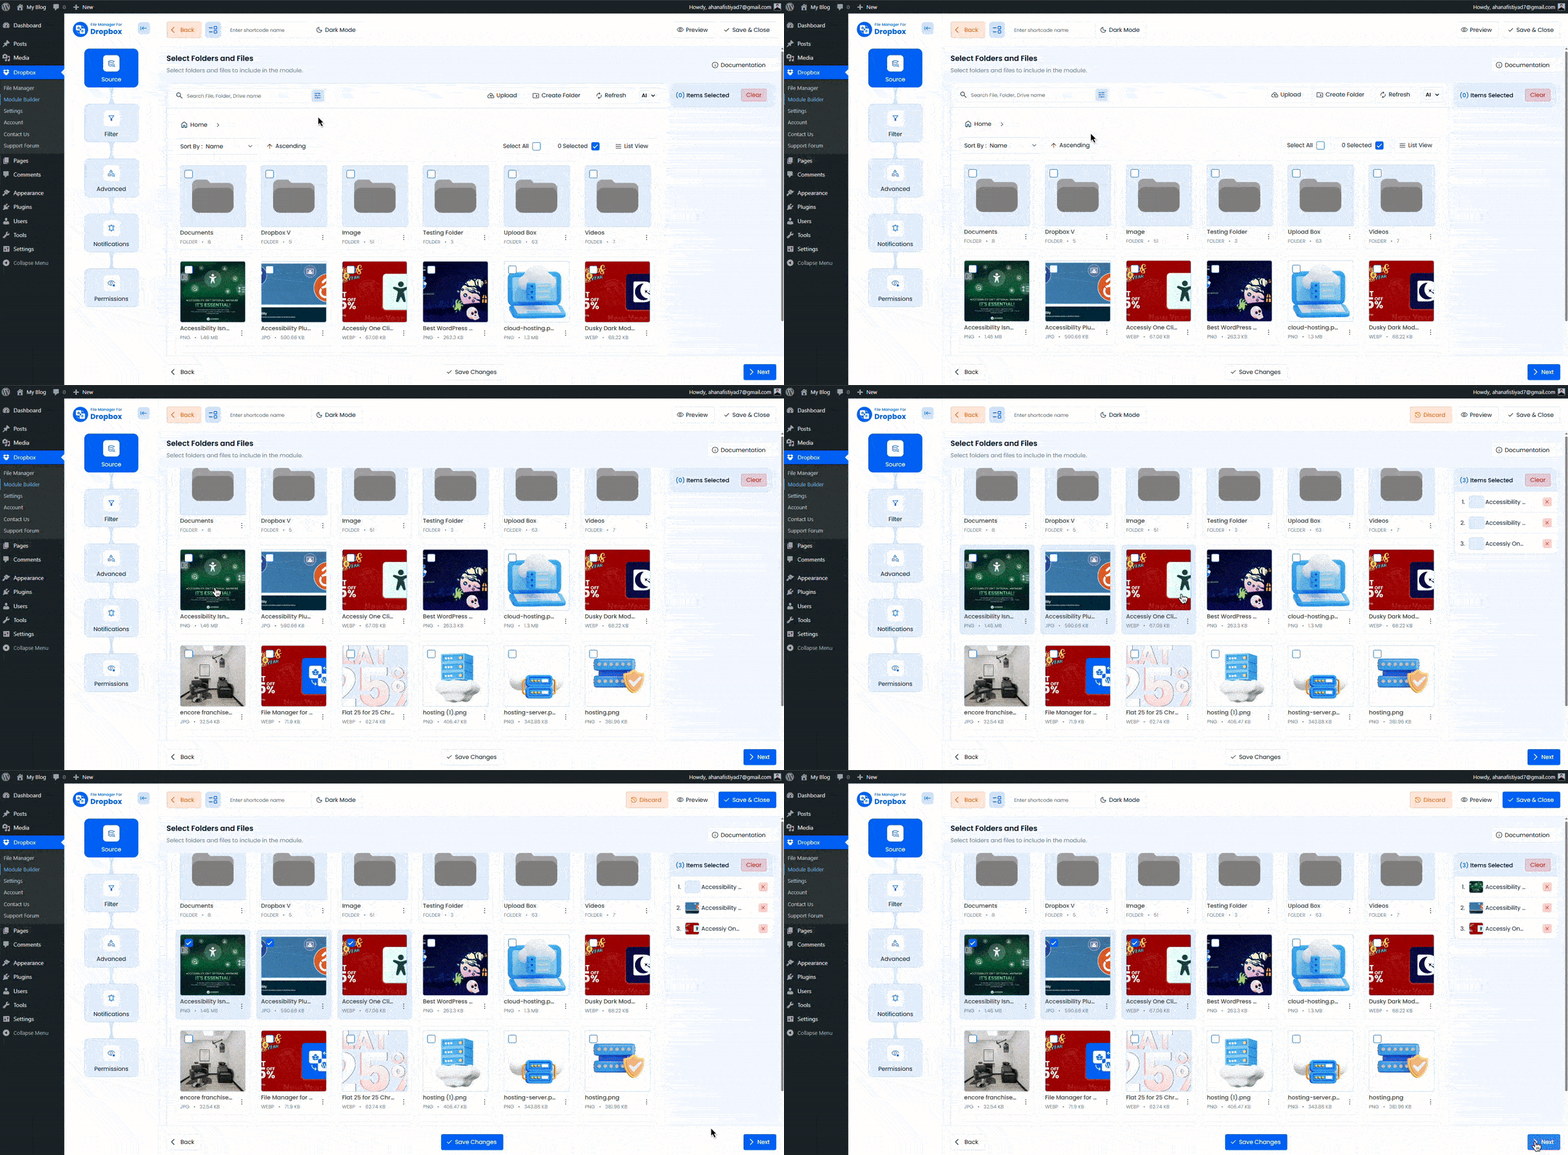
In the Source tab, choose the Dropbox files or folders you want to embed.
- Click the File button or use the Select Box to select a file or folder.
- You can also drag and select multiple folders using your mouse.
Step 3: Configure the Filter Tab
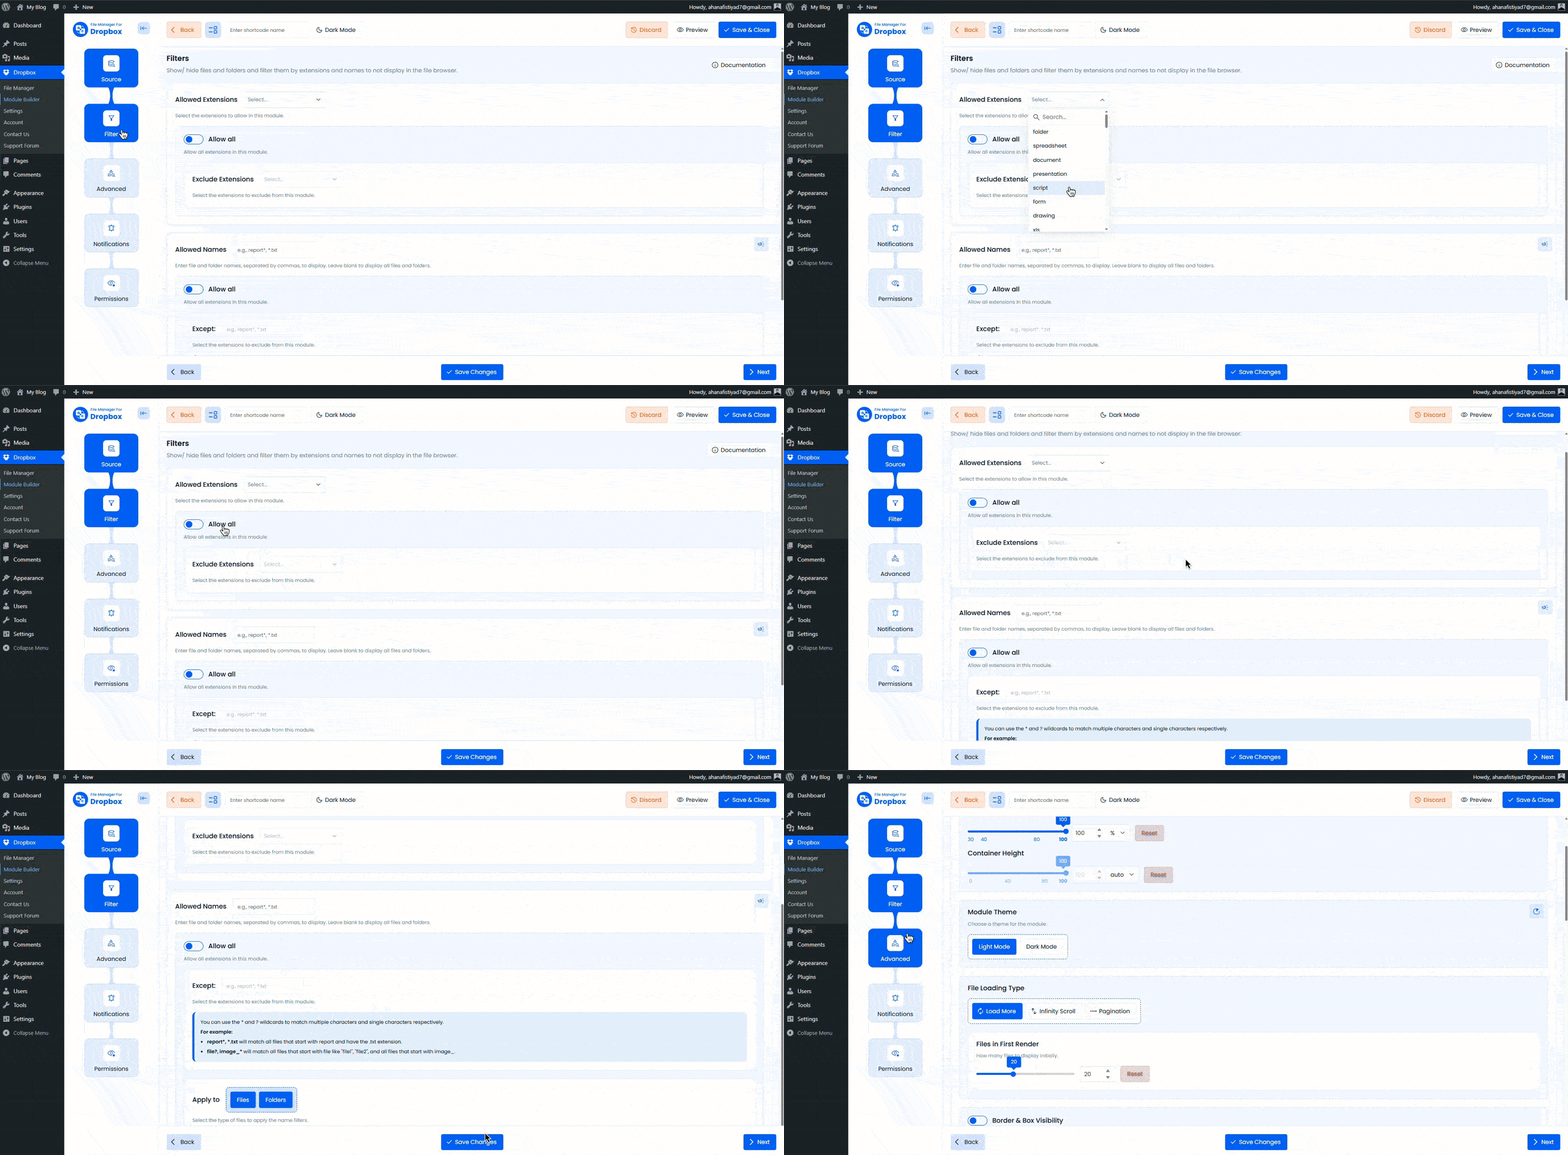
Use the Filter tab to control which files appear in the embed module.
- Allowed Extensions: Define which file types are allowed, such as
pdf, docx, xlsx, mp3, mp4. Leave empty to allow all file types. - Allowed Names: Enter specific file or folder names separated by commas. Leave empty to show all files.
- Apply To: Choose whether name filters apply to files, folders, or both.
Step 4: Configure the Advanced Tab
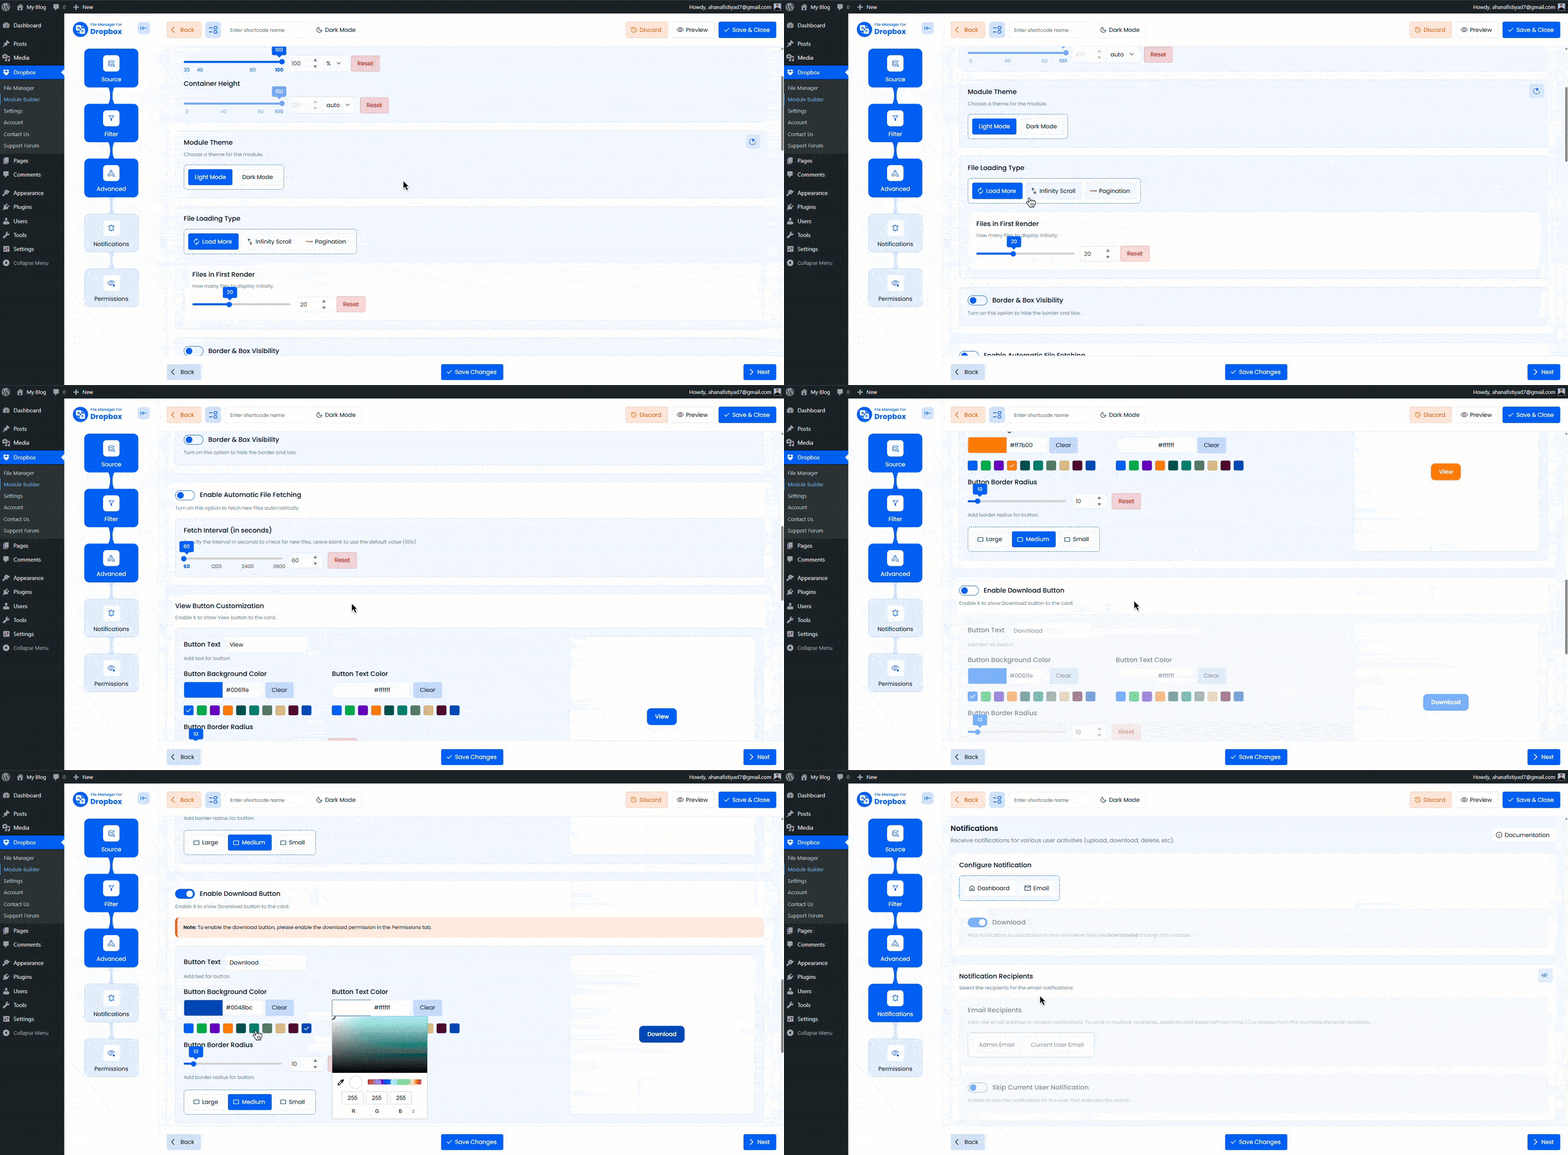
Customize how embedded documents are displayed on your site.
- Container Width & Height: Set the module size using values like
360pxor80%. Leave blank to use the default size. - Module Theme: Choose between light mode or dark mode.
- File Loading Type: Select how files load (Load More, Infinite Scroll, or Pagination).
- Files in First Render: Set how many files appear initially.
- Enable Auto File Fetching: Automatically display newly uploaded Dropbox files.
- Layout: Choose List View, Grid View, or Masonry layout.
- Show File Name: Toggle the file name display above the document.
- Iframe Dimensions: Set the embedded frame width and height. Leave empty for default.
- Allow Pop-out: Enable a button to open the file directly in Dropbox.
- Sorting: Sort files by Name, Size, Created Date, or Updated Date in ascending or descending order.
Step 5: Configure the Permissions Tab
Control who can view or access embedded Dropbox documents.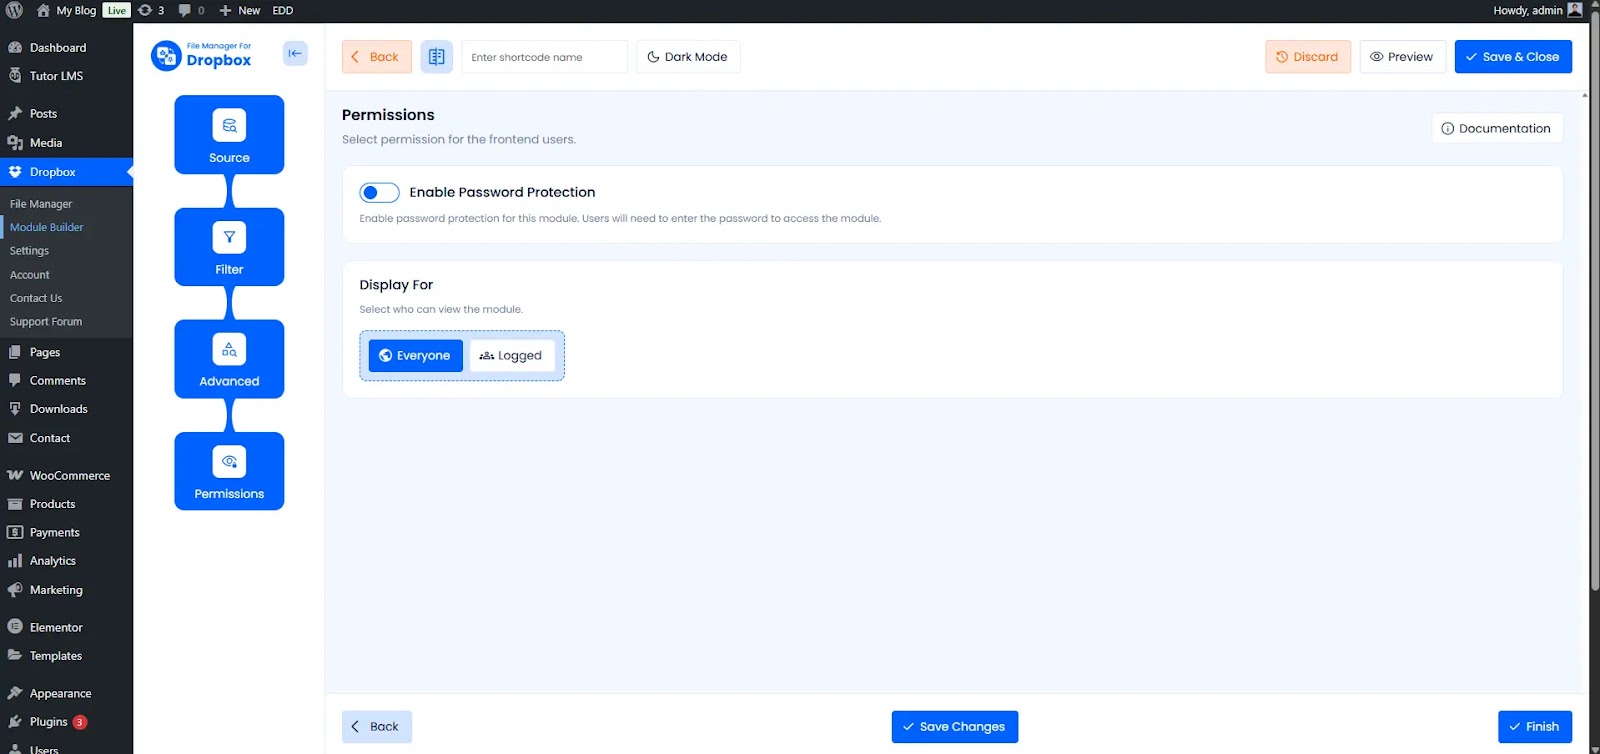
- Enable Password Protection: Require a password to access the module.
- Password: Set a secure password.
- Display For: Choose who can see the module.
- Everyone: Visible to all visitors.
- Logged: Visible only to logged-in users.
- User Access: When Logged is selected, restrict access further.
- Role-Based Access: Allow access by user role.
- User-Based Access: Allow access for specific users.
- Show Denied Message: Display a custom message when access is restricted.
Click Save Changes, copy the generated shortcode, and paste it into any post or page where you want to embed Dropbox documents.
Output
Once embedded, your selected Dropbox documents will appear directly on the page, allowing users to view or edit files based on your configuration.